Preview
In this article, we will integrate Uploadcare (An Advanced File Uploader) which includes drag and drop image uploader, direct link image uploader, etc. in our React.js application.
Create a react app
The first step is to create a simple react application which you can create simply by running the command below in your terminal.
npx create-react-app upload-care
This may take a while and it depends on your computer specifications, but once done, go to the newly created directory (in our case upload-care ) and run npm start Or yarn start. This command will start the development server of your React application. Now open this directory (in our case upload-care) in any code editor
Clean up the project
Once you open the directory in your code editor, you can see that there are many files and folders, but for this project we don't need most of them. Let's go ahead and delete the files we don't need. In the src folder delete all files except App.js, Index.jsAnd App.css.
Once you've deleted them, delete everything inside App.js and paste the code below instead.
import React from 'react'

export default function App() {
  return (
    <div>
      <h1>React x UploadCare</h1>
    </div>
  )
}
also remove everything inside Index.js and paste the code below instead.
import React from 'react';
import ReactDOM from 'react-dom';
import App from './App';

ReactDOM.render(
  <React.StrictMode>
    <App />
  </React.StrictMode>,
  document.getElementById('root')
);
and also delete everything inside App.css. Now in the public folder delete everything except index.html. Delete everything inside the index.html and paste the code below instead
<!DOCTYPE html>
<html lang="en">
  <head>
    <meta charset="utf-8" />
    <meta name="viewport" content="width=device-width, initial-scale=1" />
    <title>React x UploadCare</title>
  </head>
  <body>
    <noscript>You need to enable JavaScript to run this app.</noscript>
    <div id="root"></div>
  </body>
</html>
Finally, this is what your folder structure should look like 👇
📦
├── package.json
├── public
│   └── index.html
├── README.md
├── src
│   ├── App.css
│   ├── App.js
│   └── index.js
└── yarn.lock
Obtain an API key
Create an account in Uploadcare website and click API Keys in the sidebar
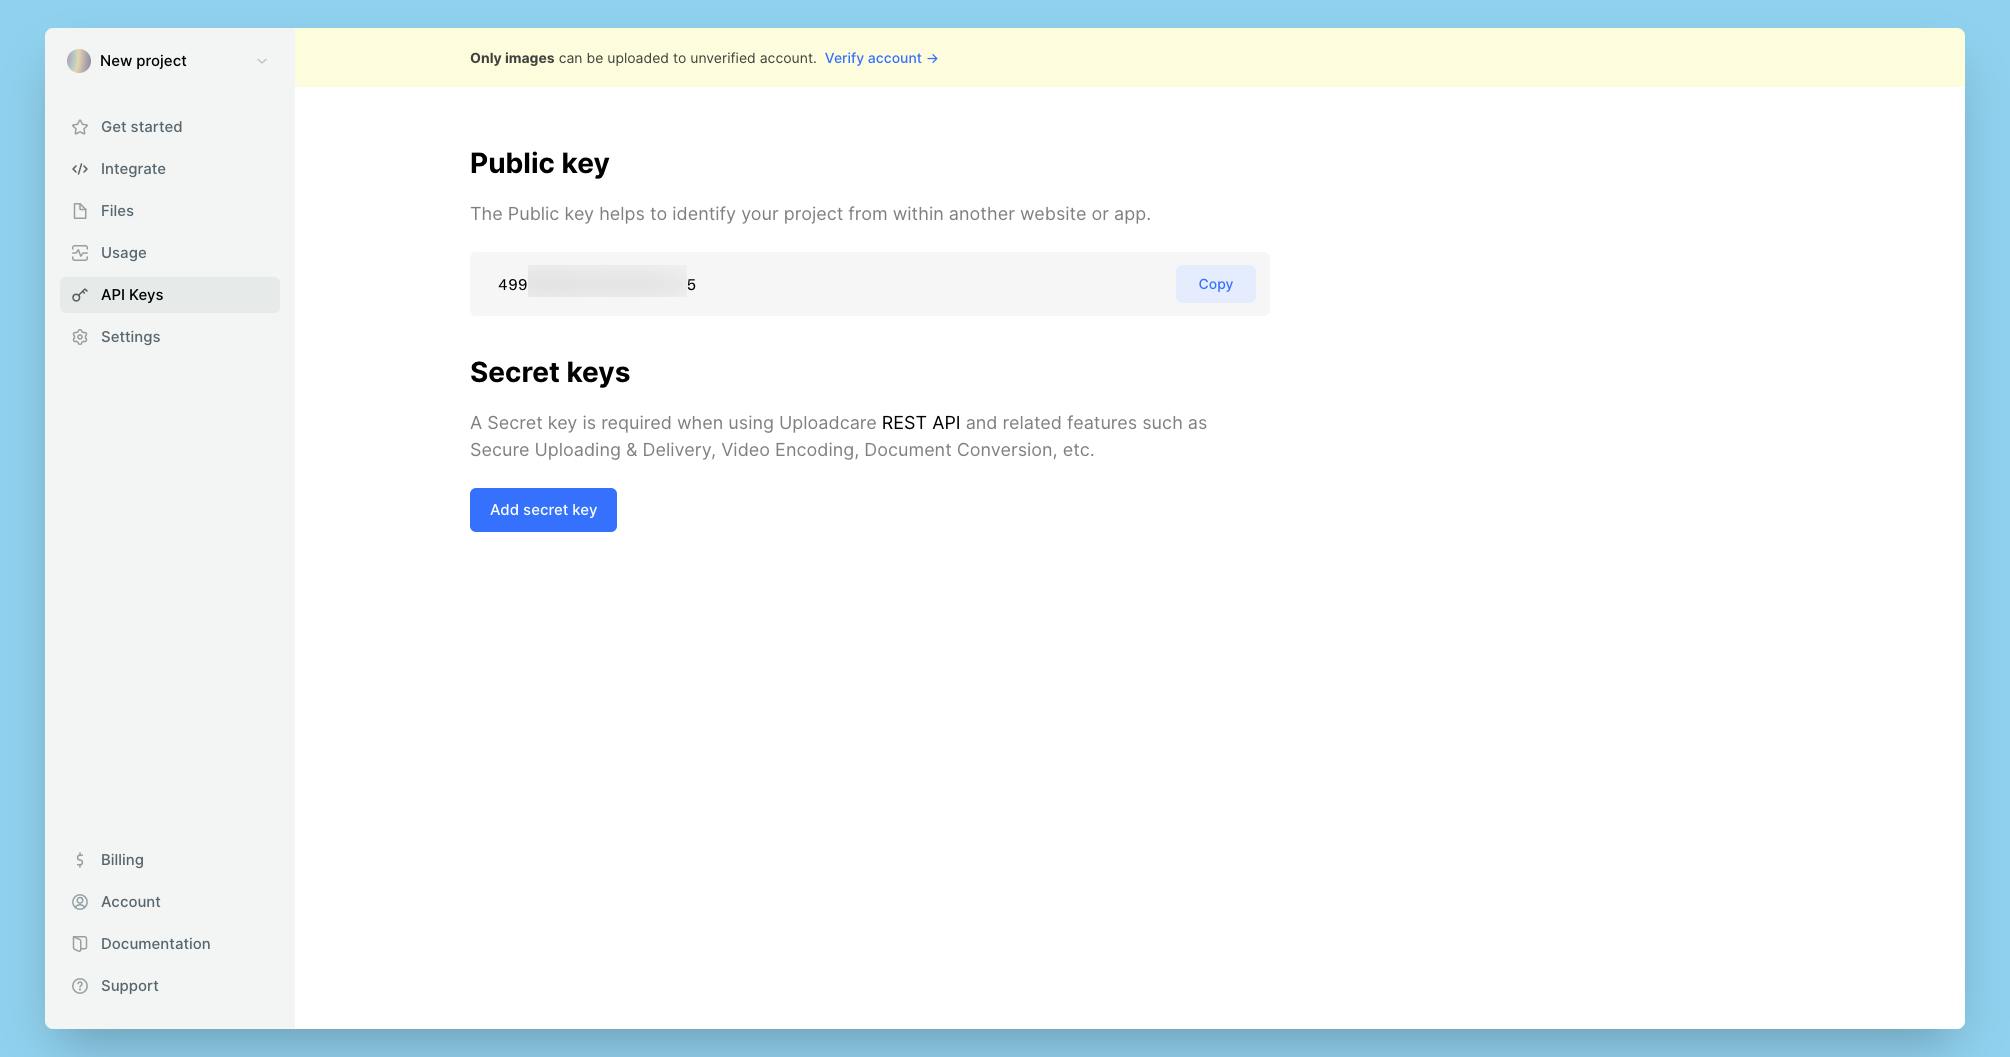
Copy your public key as we will need it in the following steps.
Installing and adding Uploadcare
Now it's time to install Uploadcare in the React app, to do this simply run
npm install @uploadcare/react-widget
Once installed you need to import the package into your app.js, to do this simply add this code to the top of your app.js code.
import { Widget } from "@uploadcare/react-widget";
To use the File Uploader component, you can add the code below to your app.js or another template of your choice:
<p>
  <label htmlFor='file'>Your file:</label>{' '}
  <Widget publicKey='YOUR_PUBLIC_KEY' id='file' />
</p>
finally, this is how your app.js should look like.
import React from "react";
import { Widget } from "@uploadcare/react-widget";

export default function App() {
  return (
    <div>
      <p>
        <label htmlFor="file">Your file:</label>{" "}
        <Widget publicKey="YOUR_PUBLIC_KEY" id="file" />
      </p>
    </div>
  );
}
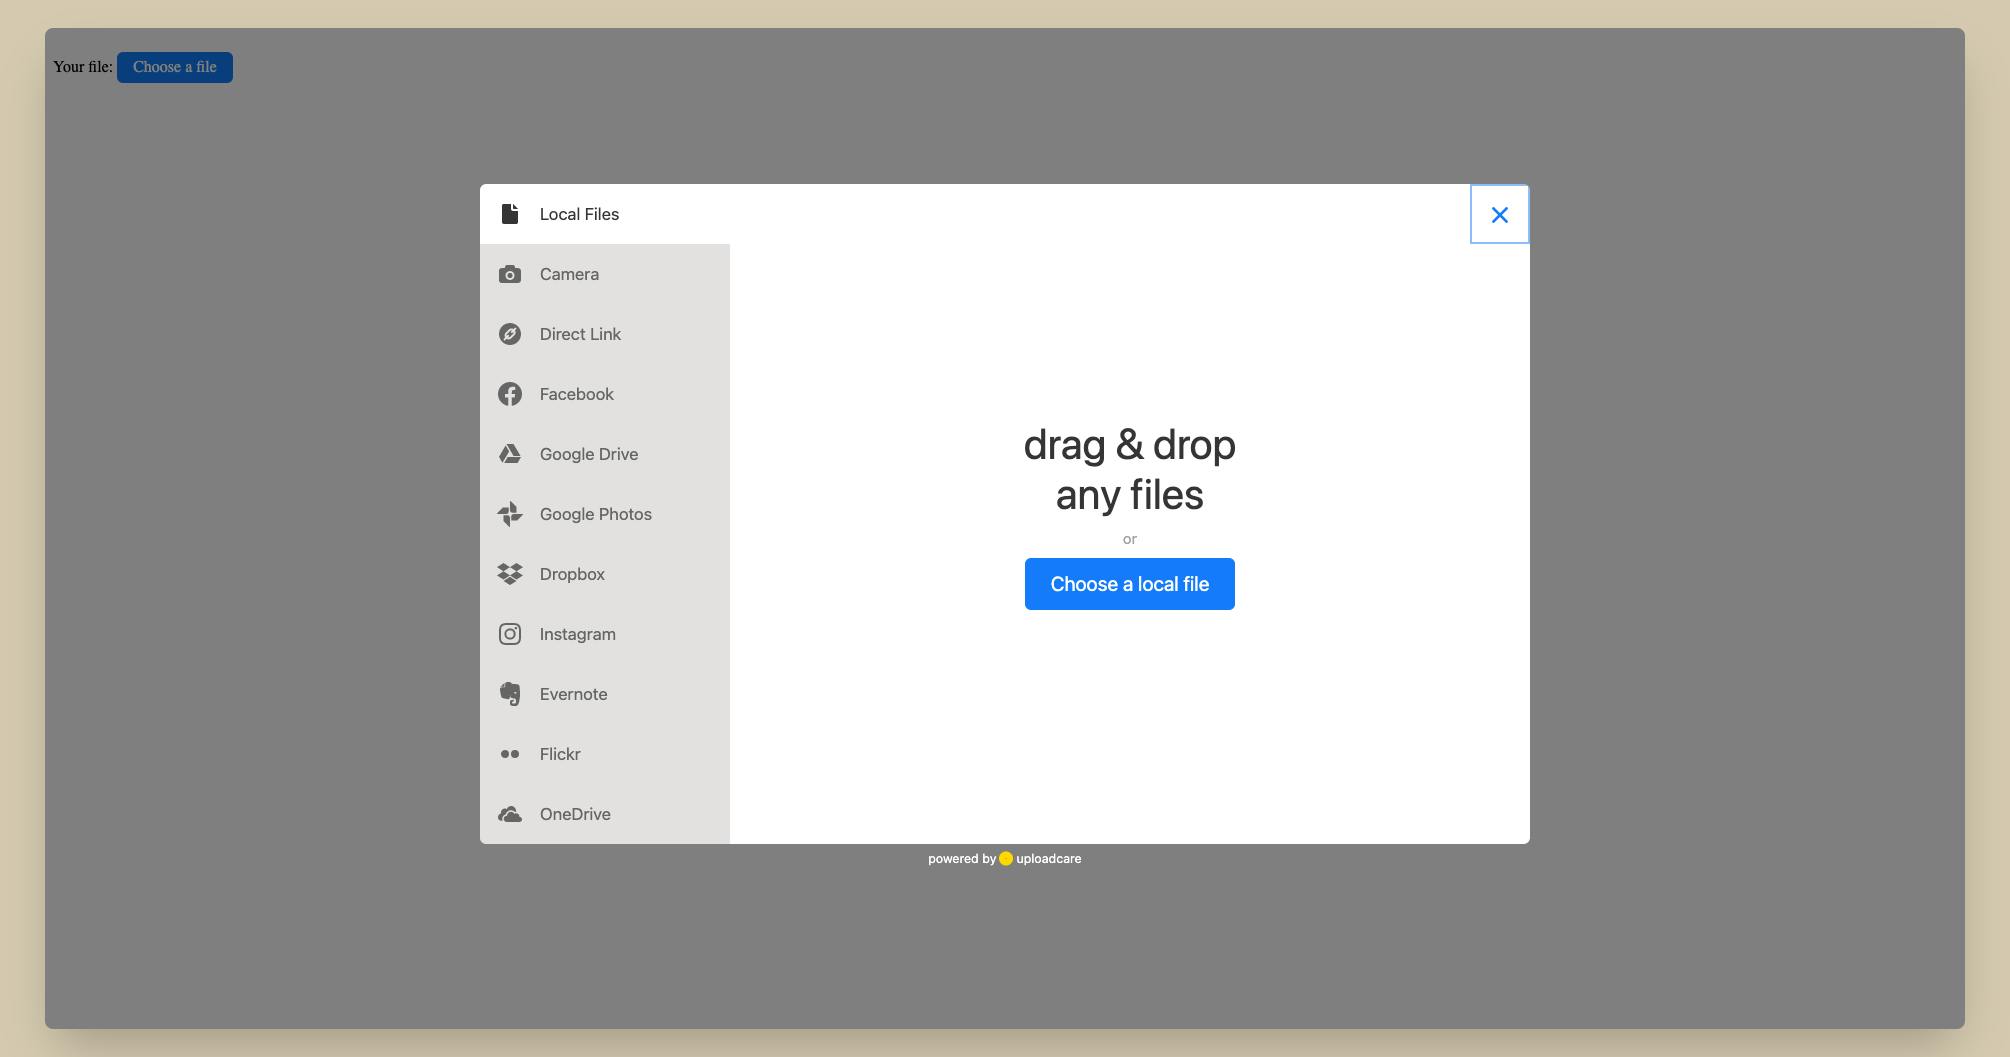
Now paste your public key in place of YOUR_PUBILC_KEY in the code above. Open your browser and navigate to localhost:300. and 💥 you now have Uploadcare integrated into your app. If someone uploads a file using the Uploadcare widget, you can view these files in your dashboard.
Conclusion
I hope you found this article helpful, if you need any help please let me know in the comments section.
You can find the full source code here
Would you like to buy me a coffee, you can do it here.
Let's connect on Twitter And LinkedIn.
👋 Thanks for reading, see you next time