Have you ever struggled to remember and share complex Ethereum wallet addresses? You can easily solve this cryptographic conundrum with the Ethereum Name Service (ENS).
Think of ENS as your contact book for Ethereum. Instead of a long and complicated address (0x7abc…), you can use an easy-to-remember name such as “vitalik.eth” – making transactions simpler and user-friendly!

In addition to streamlining payments, ENS unlocks a decentralized identity and social layer for Web3. There are currently over 2.5 million registered ENS domain names, making it the most popular cryptographic domain name standard.
Here is a step-by-step guide to registering an ENS domain:
-
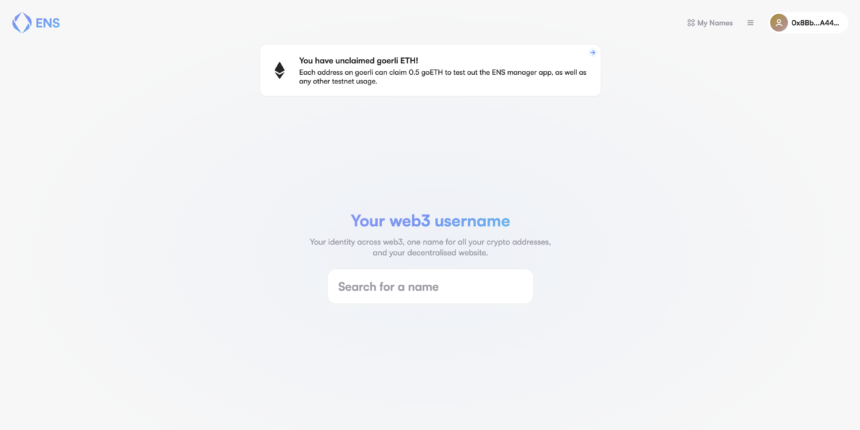
Move towards https://app.ens.domains.
-
Search for a name and proceed to connect the crypto wallet of your choice (i.e. Metamask, Wallet Connect, Rainbow, Coinbase Wallet, etc.).

Advice: Connecting your wallet to the ENS app and choosing an available domain requires registration fees as well as network fees or “gas”. Choosing a longer registration time can help optimize gas costs.
After successfully connecting your wallet and choosing an enrollment period, click Get Started. Next, confirm the transaction details in your wallet and start the 60-second cooldown between the final confirmation transaction.

Next, click Finish and open your wallet to confirm the transaction. After a few moments, your transaction will be processed, then Congratulations! You are now proud to own an ENS domain, allowing you to enjoy a seamless experience on the decentralized internet.