Introduction
Morality is a web3 platform that provides a backend service for blockchain projects. They offer the most web3 and NFT APIs for authentication, blockchain account information, etc.
We will use the Moralis IPFS saveIPFS() method to upload files (max 1 GB) over the IPFS network.
This tutorial is a continuation of How to store files on the blockchain using IPFS. I recommend checking it out for an explanation of what an IPFS network is.
Preconditions
Beforehand, you need to know the fundamentals of React.js, which you can learn here.
Demo
Below is the IPFS file downloader demo video that we will create at the end of this tutorial:

Files downloaded with the
saveIPFS()methods are pinned to IPFS by default
At the end of this section, you will be able to store and retrieve files from the IPFS network with Moralis.
Step 1 – Moralis Server Configuration
A Moralis server allows you to use the Moralis SDK to accelerate the development of your dApp. – Morality
In this first step, we will configure our Moralis Cloud Server and generate our Moralis Server API keys.
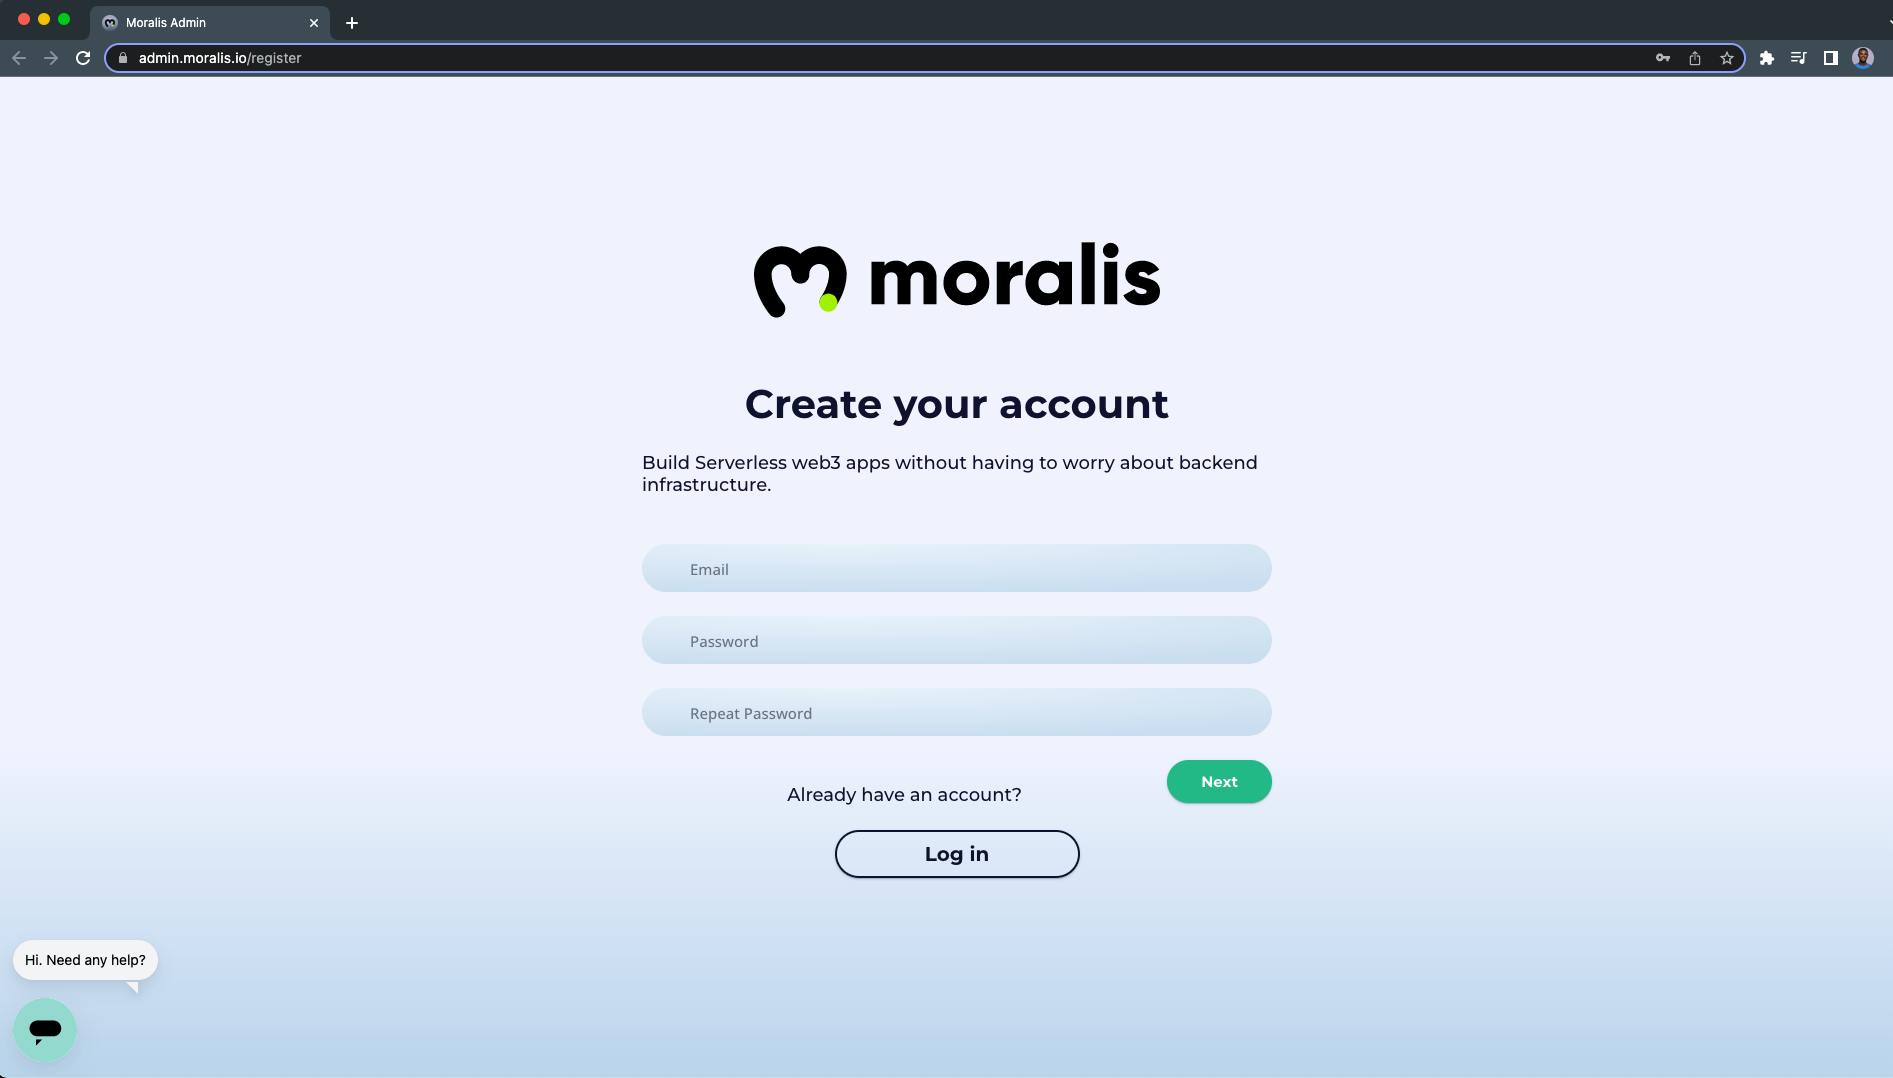
Go to Moralis.io and click on the “Sign up for FREE” button:

Provide a valid email address with a password to create your Moralis account:
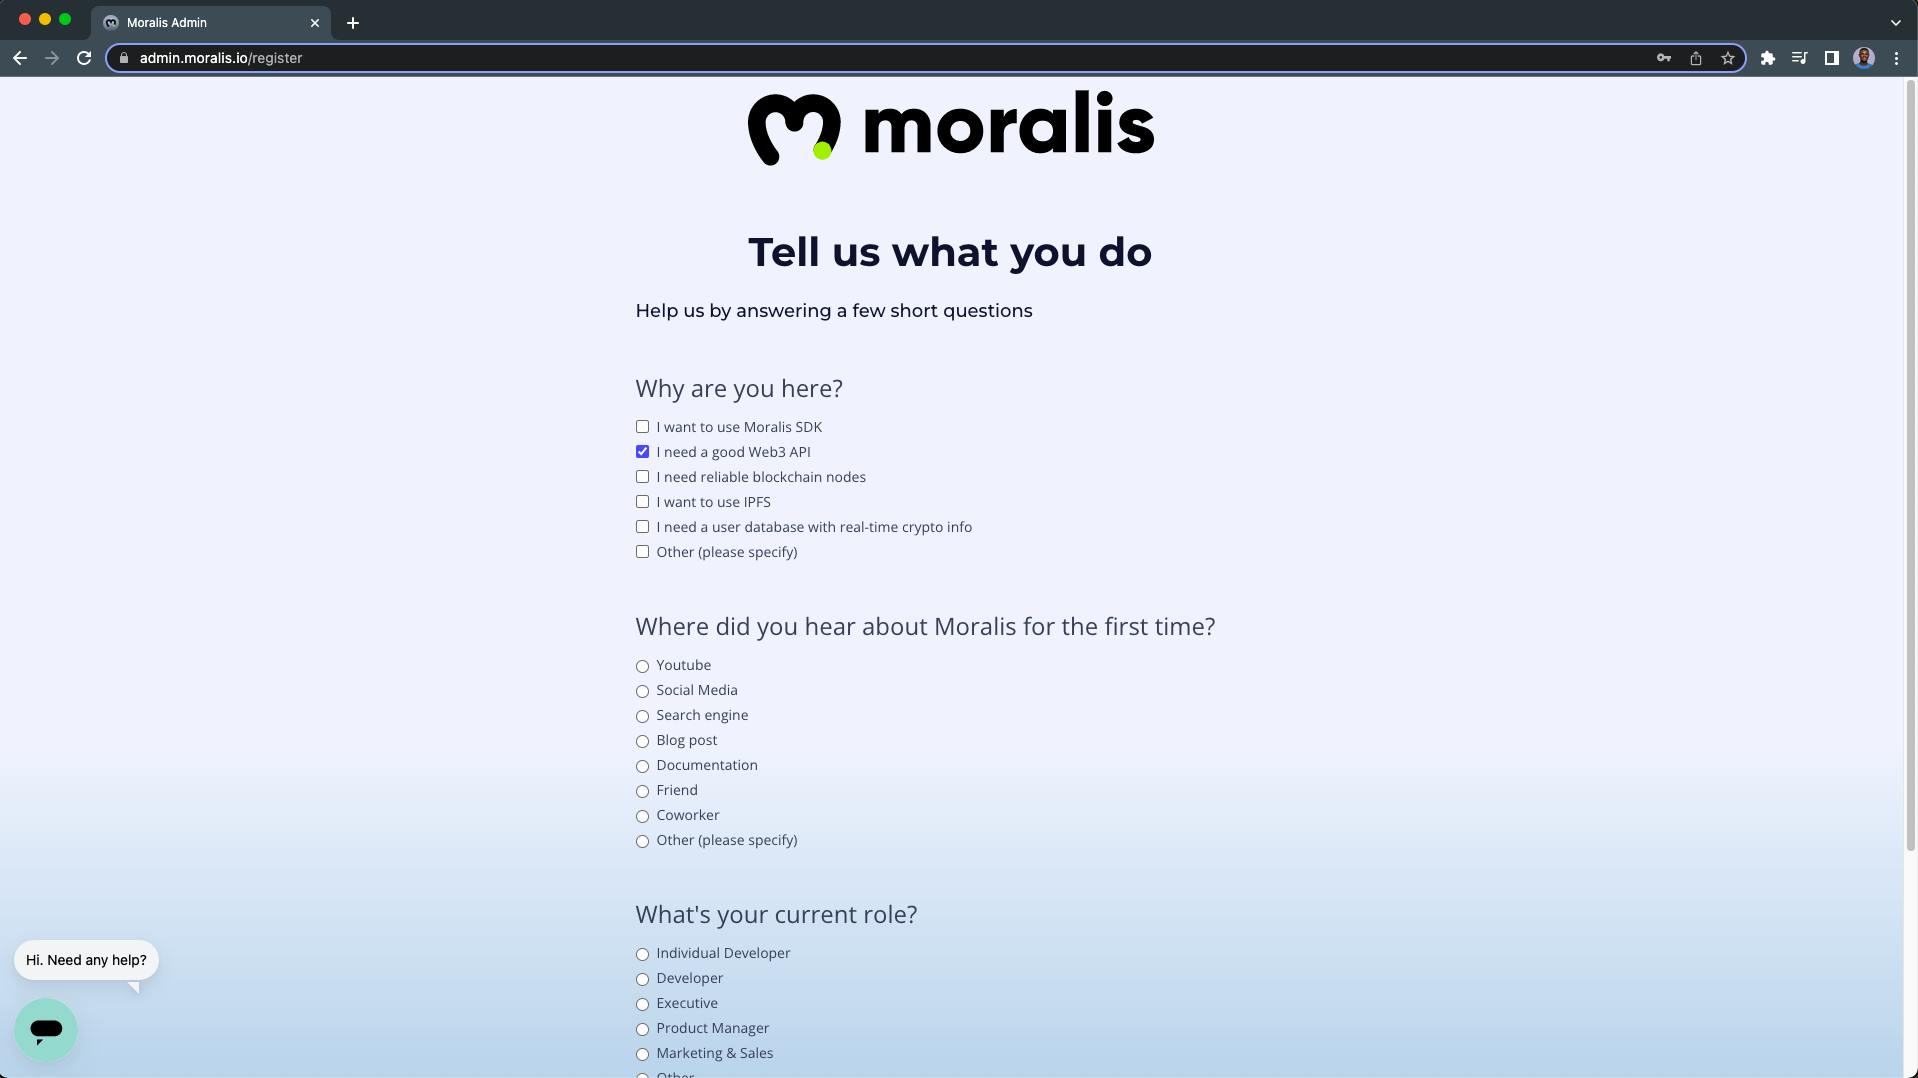
The next page is where you will answer a few short questions.
Click next when you have finished creating your Moralis account:
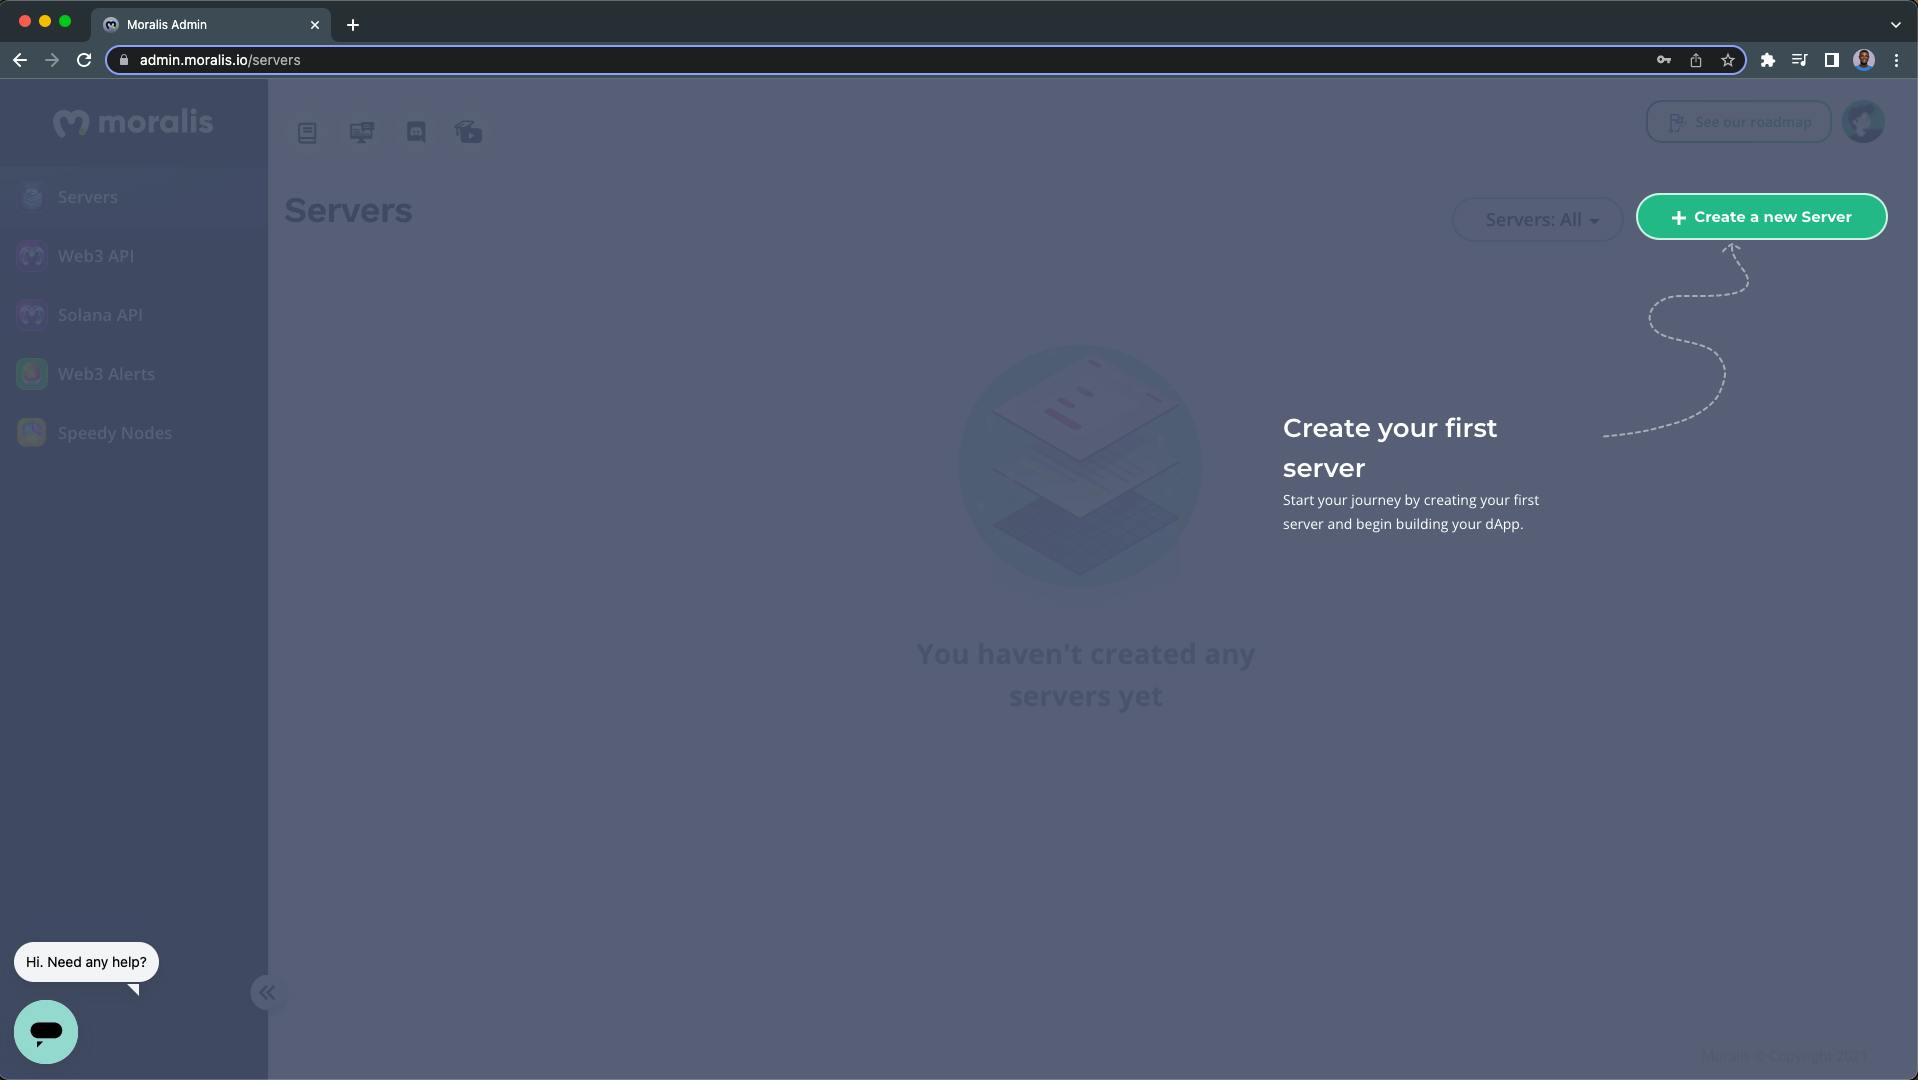
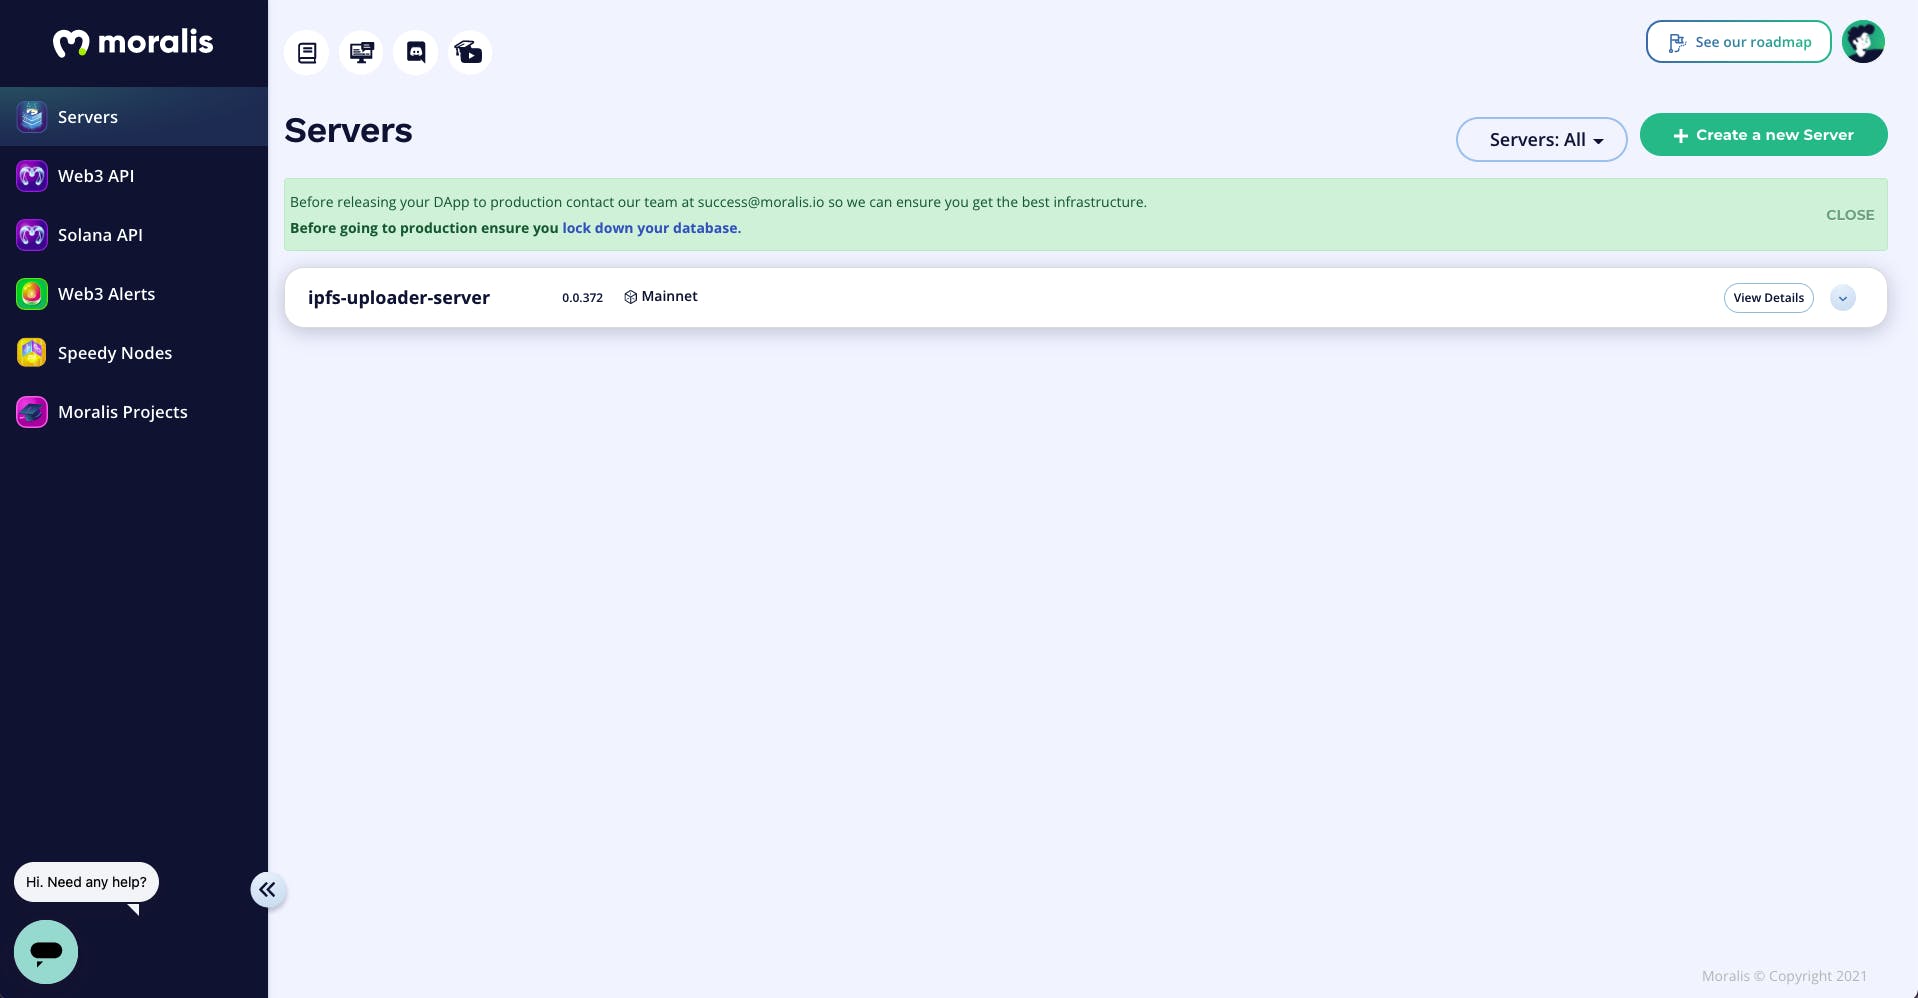
Once you have successfully registered, you will be redirected to your Moralis dashboard.
On your dashboard:
1. Click the “Create new server” button:
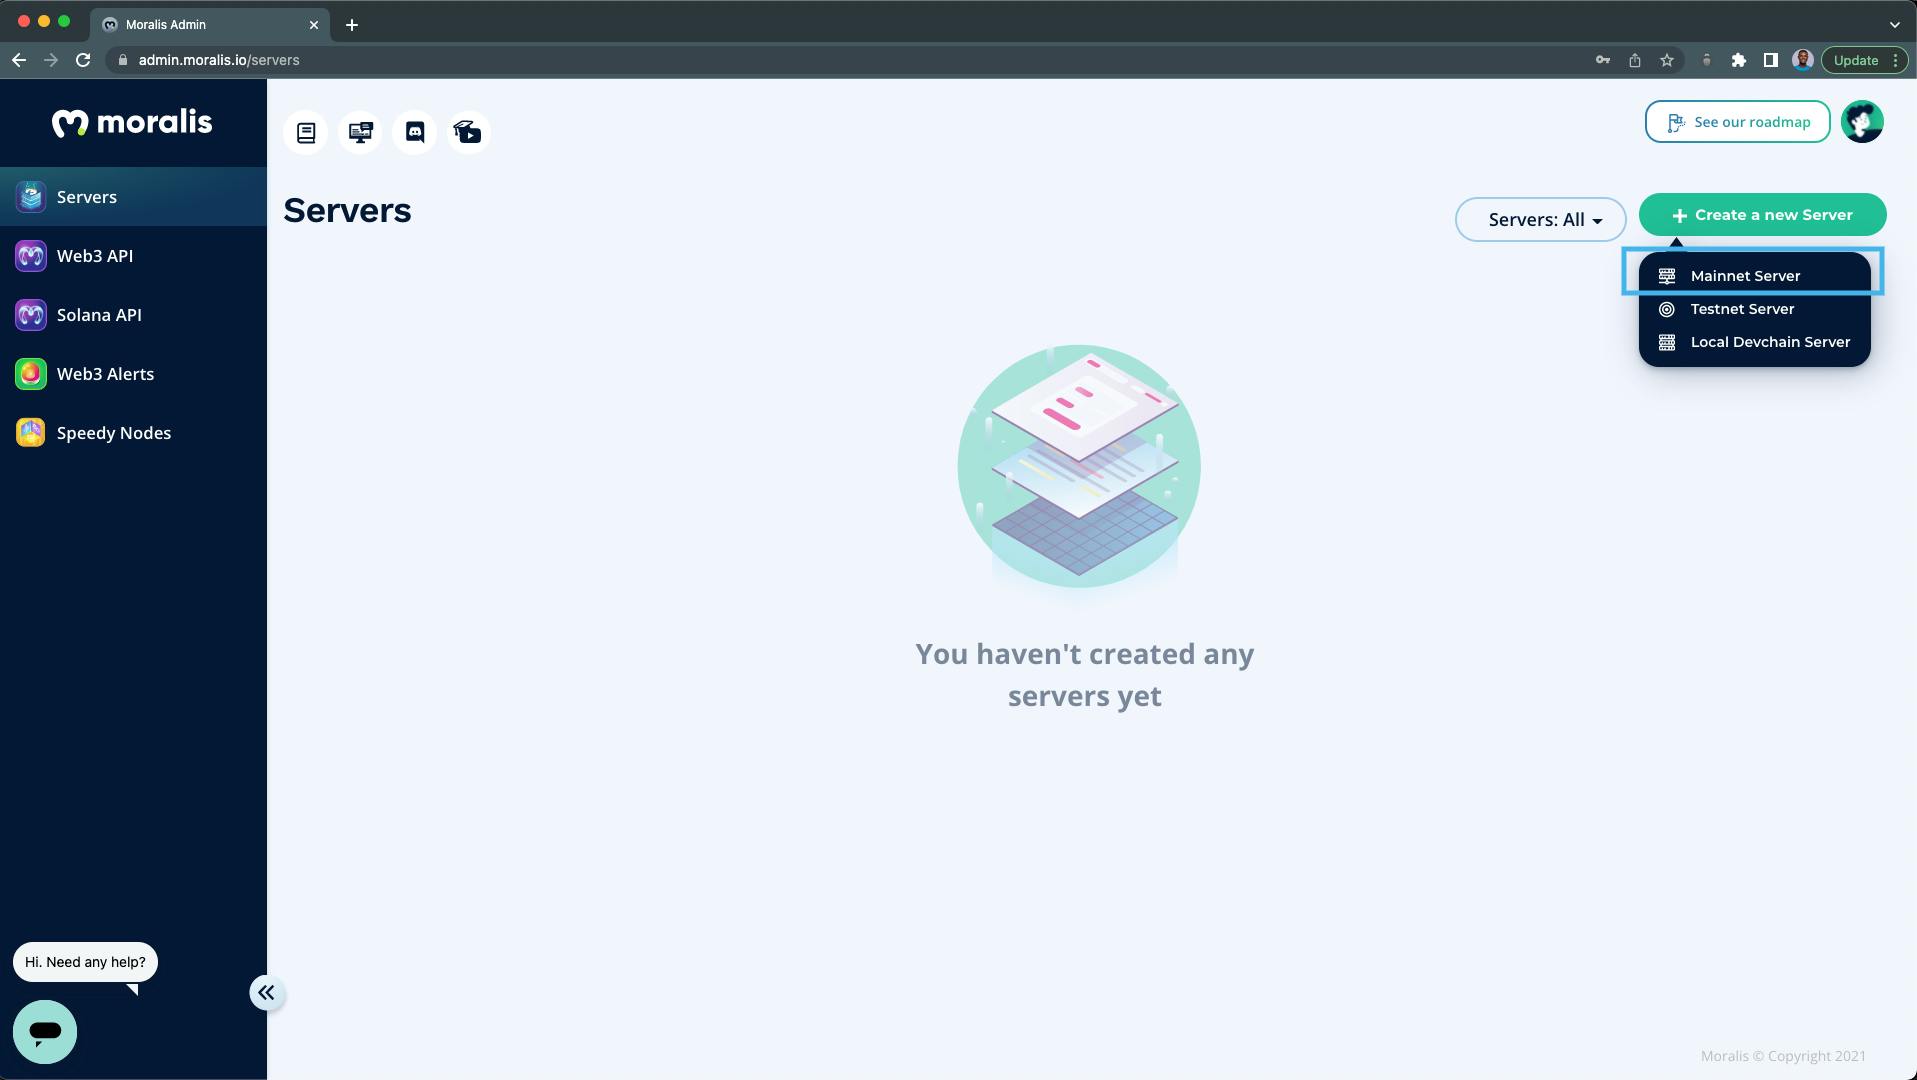
2. Select the “Mainnet Server”:
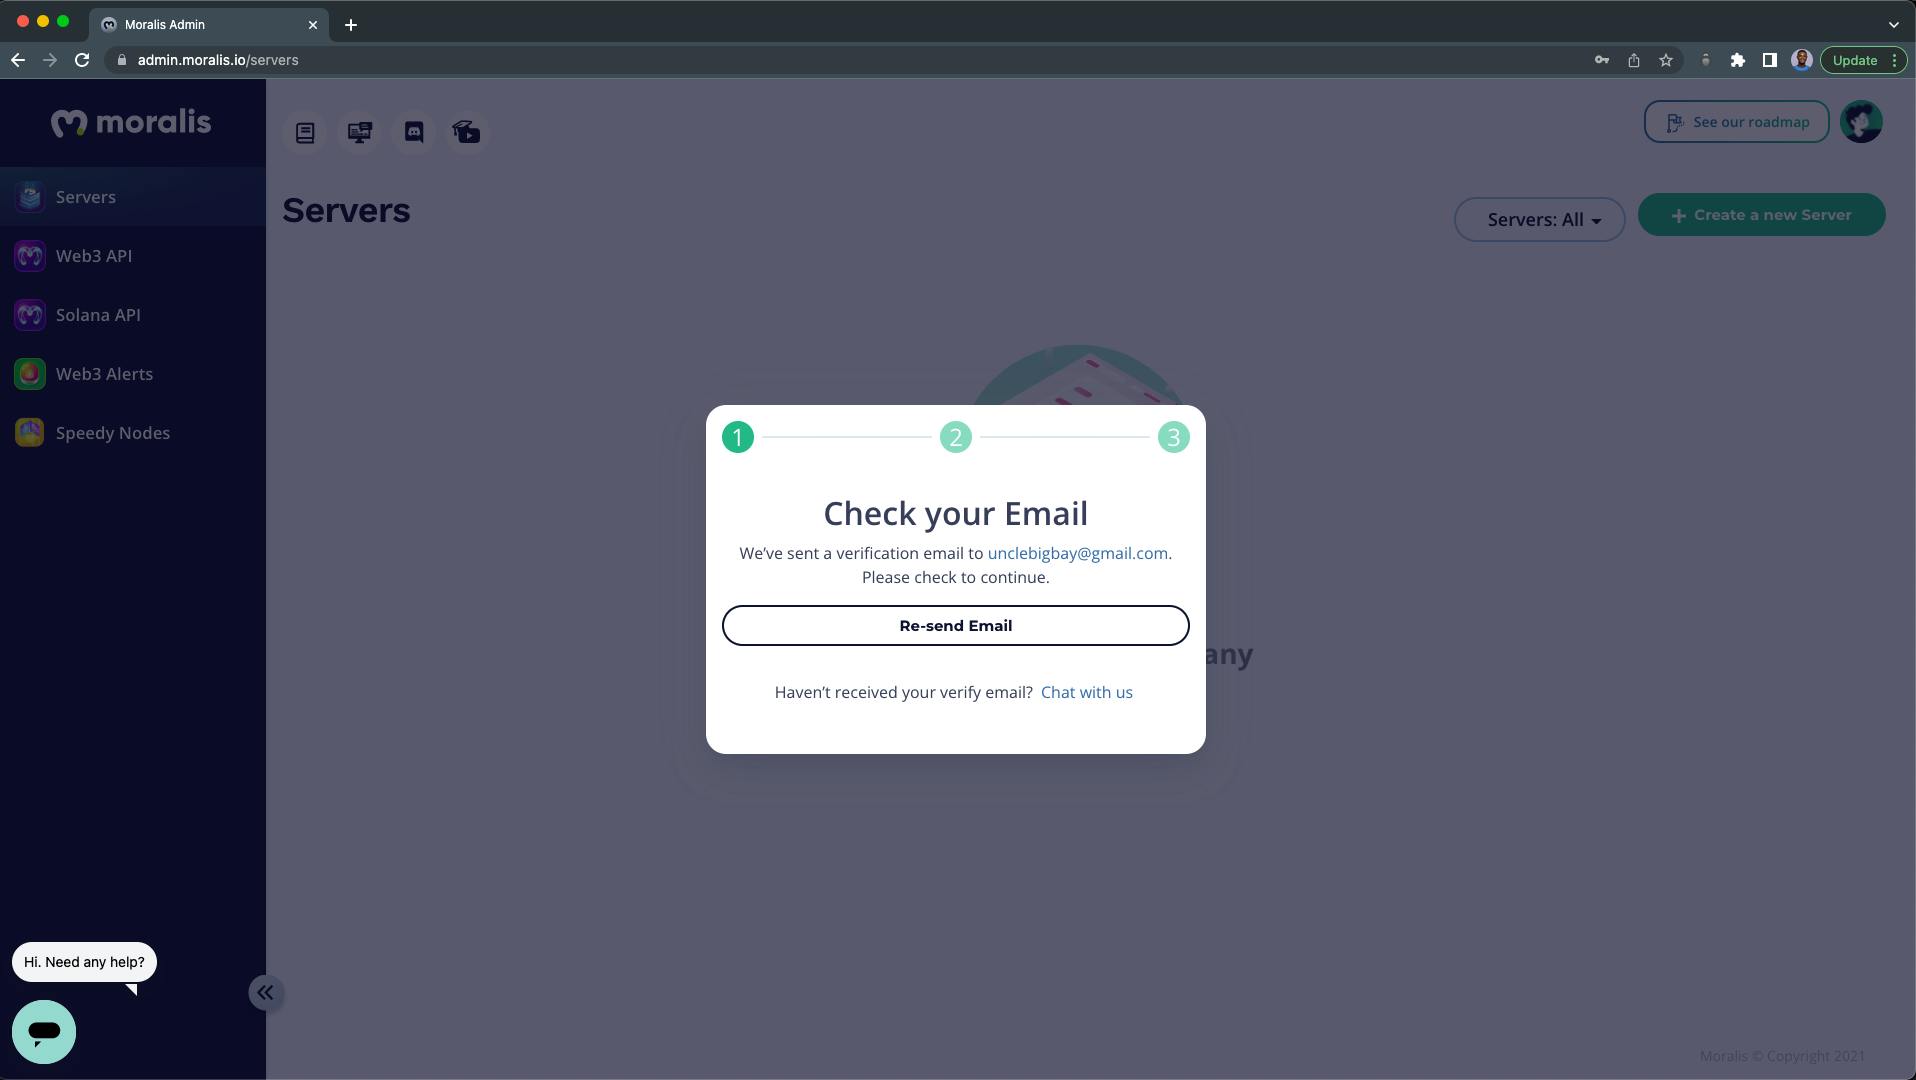
3. You will be asked to confirm your registered email address:
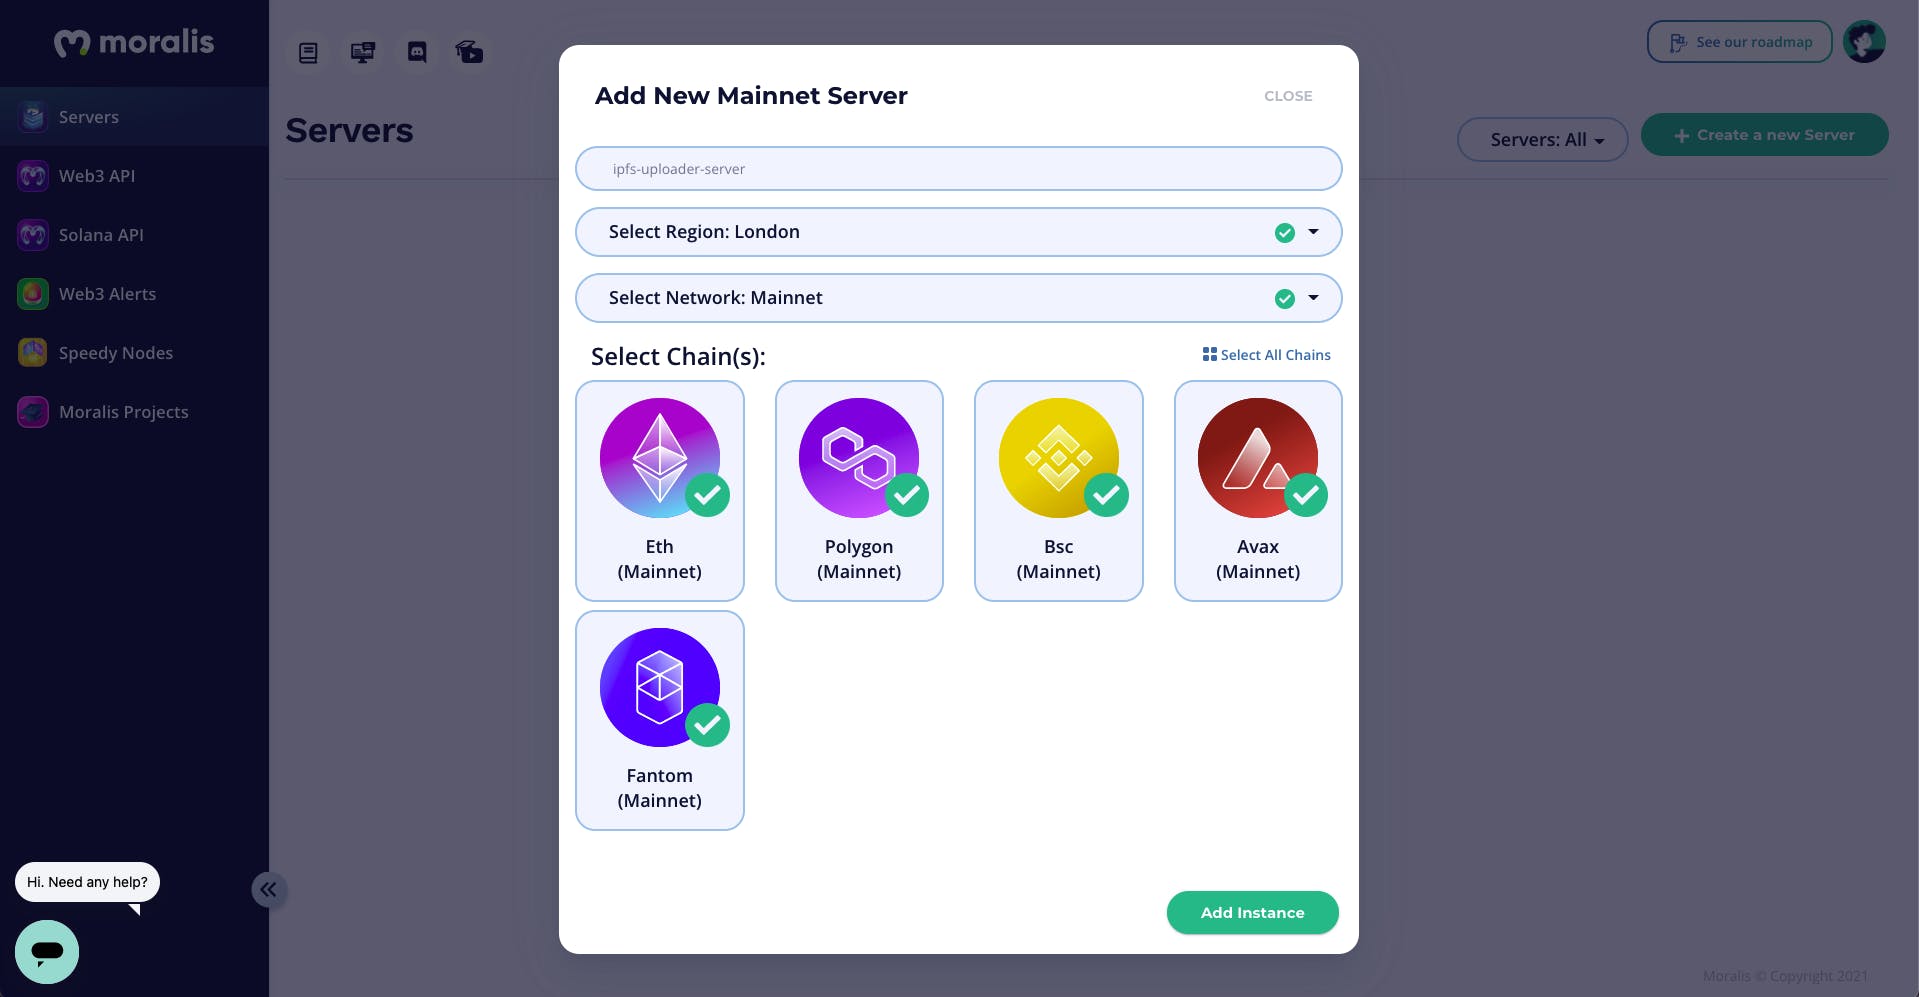
4. Adding a new Mainnet server:
From the pop-up window:
- Name your Moralis server/instance (server-ipfs-uploader).
- Select the Region closest to you.
- Select a network (Main network).
- For this tutorial, we will select all available elements Chains.
- Click the “Add Instance” button when you're done.
5. Wait for Moralis to configure your server instance:
Step 2 – Moralis Server Details
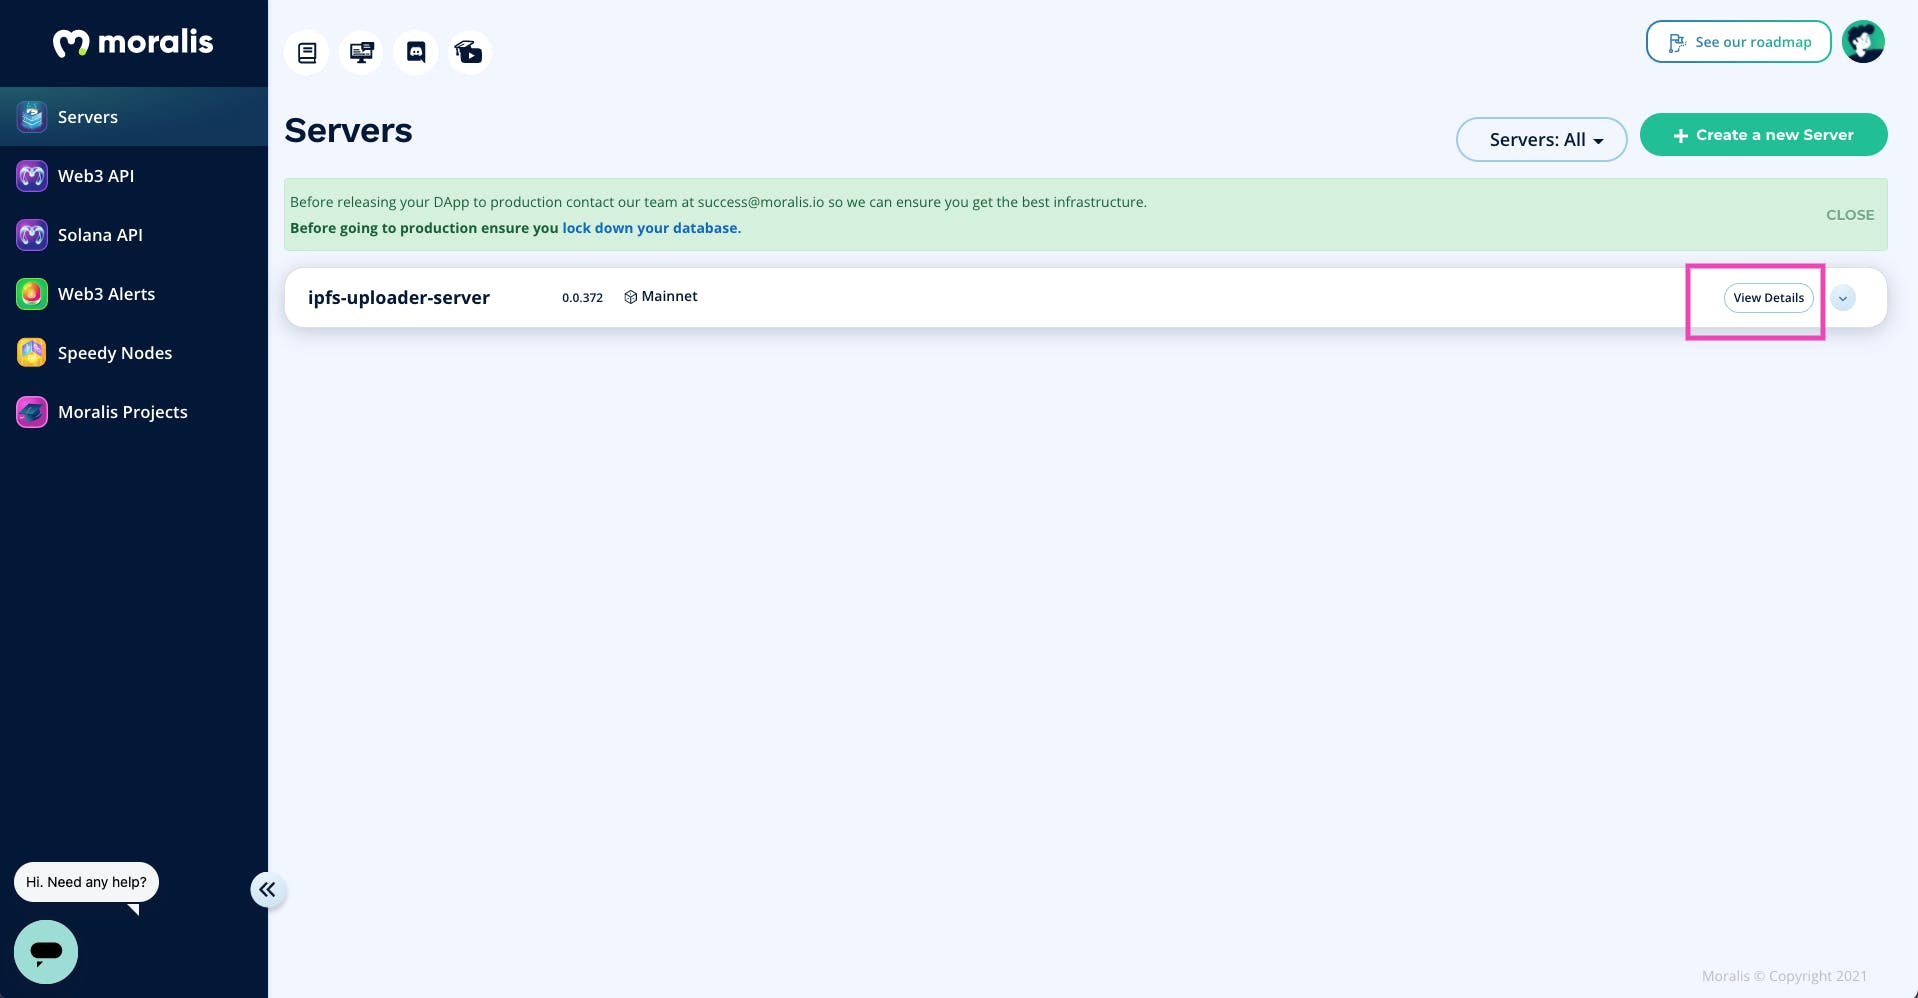
Once our server instance is created, we can view our server credentials by clicking the “Show Details” button:
The important server details we need are:
- THE Server URL
- THE Application ID
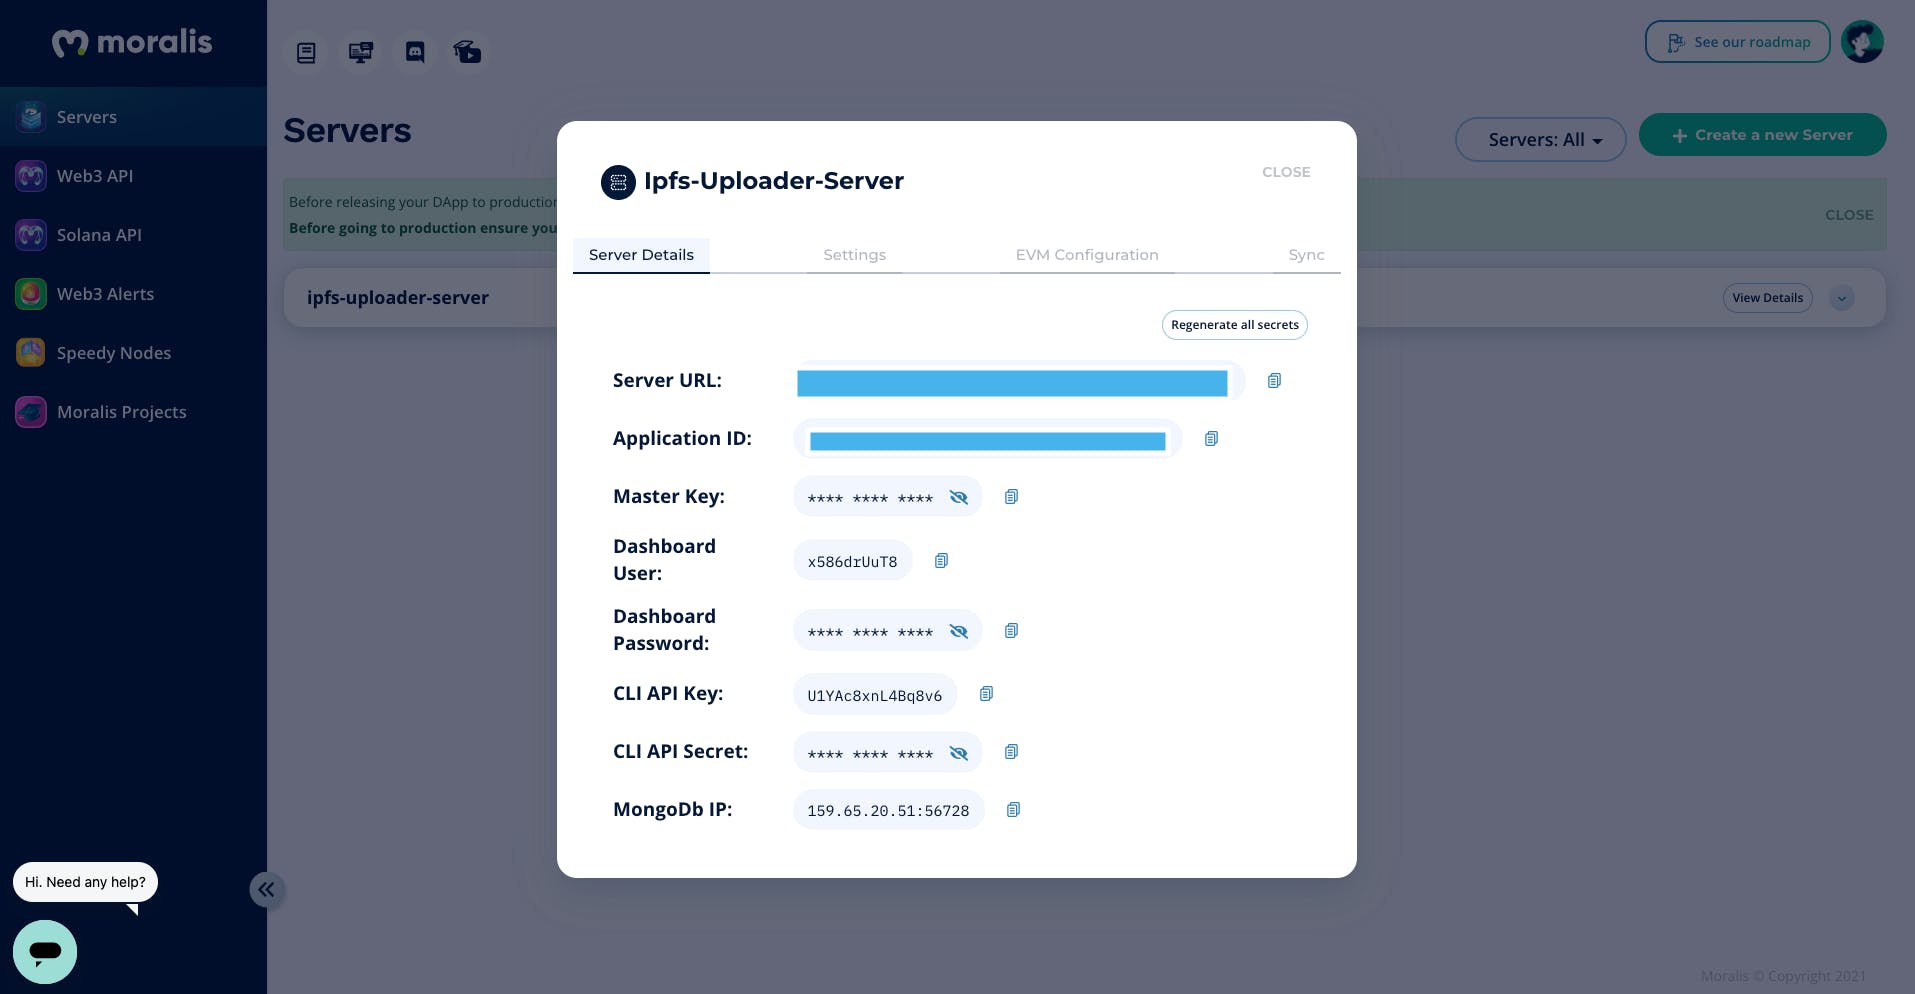
Pro tip: Don't expose your server details, as they provide access to your dApp.
Step 3 – Creating a New React App
In this step, we will create a new React application with Create a React app (ARC) and npx package manager.
From your terminal:
-
Navigate to where you want your IPFS download project to be hosted.
-
Run the command below to create a new
moralis-ipfs-uploaderReact app project:npx create-react-app moralis-ipfs-uploader -
When done, run the command below to access the newly created file.
moralis-ipfs-uploaderphone book:cd moralis-ipfs-uploader -
Next, start your React app project server with the command below:
npm run start -
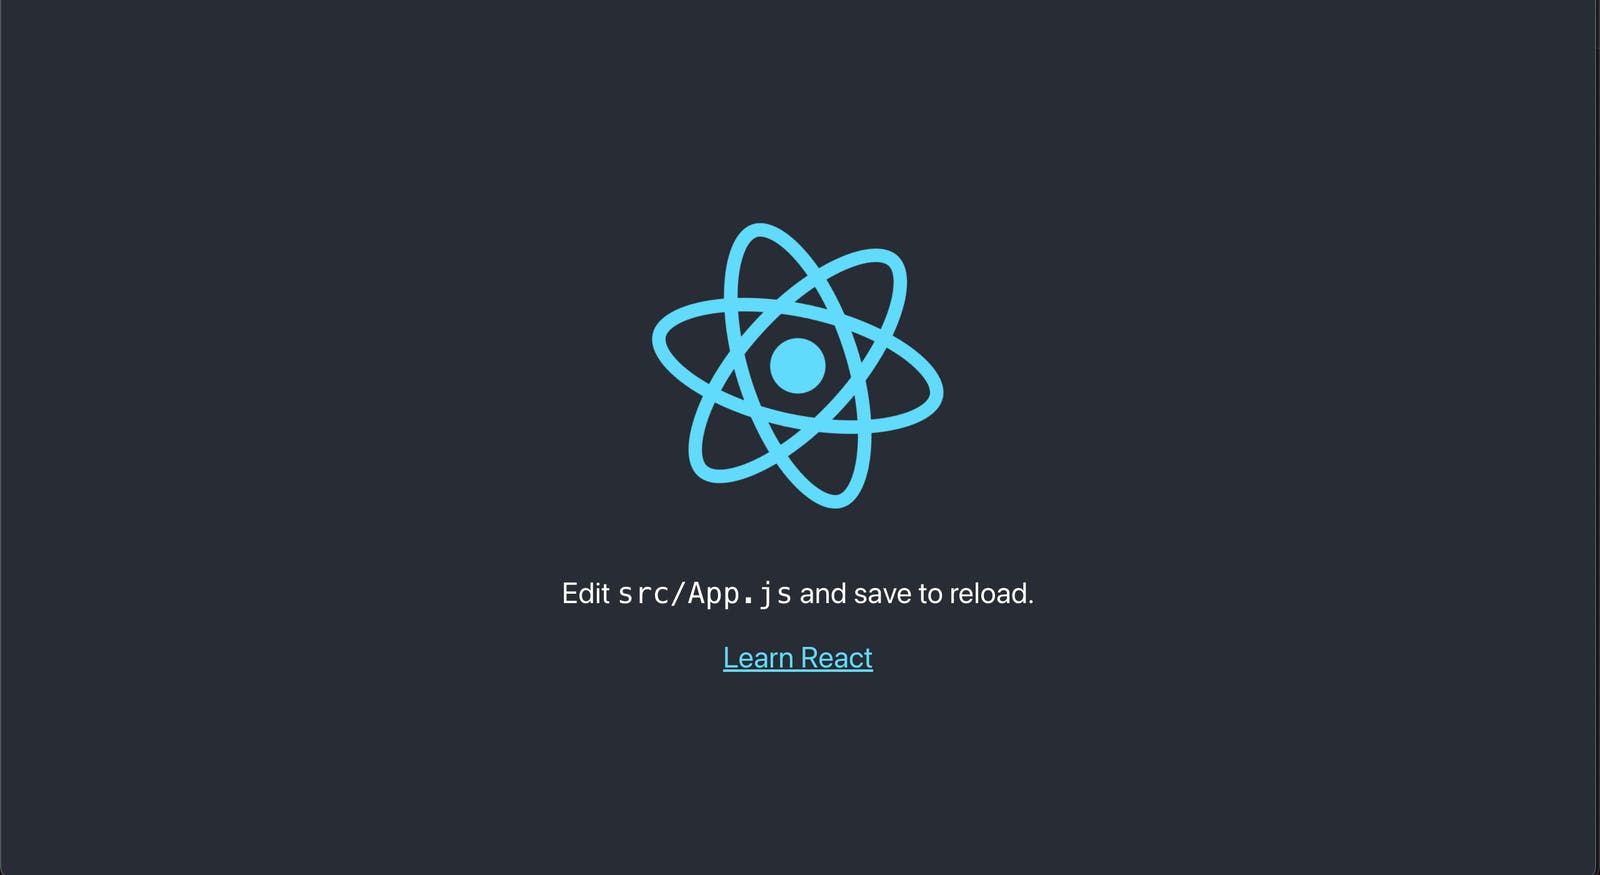
Our development server will start on
localhost:3000. Our React page should look like this:
Step 4 – Installing Moralis React SDK
Now that our React application is ready, we will install the Moralis React SDK.
Run the following command from your moralis-ipfs-uploader directory terminal:
npm install moralis react-moralis
Step 5 – Initializing the Moralis SDK in React
After setting up your Moralis server and installing the Moralis SDK (see step 4), the next step is to establish a connection between our React application and our Moralis server via the Moralis SDK.
To create a .env at the root of your project and store your Moralis server details above like this:
REACT_APP_MORALIS_SERVER_URL=https:
REACT_APP_MORALIS_APP_ID=XXXXXXXXXXXXXXXXXXXXXXXXXXXXXX
Replace the placeholders with your Moralis credentials. Then we need to restart our server after updating the src/.env deposit.
Use the short key below to stop your server:
ctrl + c
Restart your server with:
npm run start
Then we will pack our App.js component with the moralisProvider Since react-moralis. Update your App.js with the code below:
import "./App.css";
import { MoralisProvider } from "react-moralis";

function App() {
  const serverUrl = process.env.REACT_APP_MORALIS_SERVER_URL;
  const appId = process.env.REACT_APP_MORALIS_APP_ID;

  return (
    <MoralisProvider appId={appId} serverUrl={serverUrl}>
      <div className='App'>
        <header className='App-header'>
          <img src={logo} className='App-logo' alt='logo' />
          <p>
            Edit <code>src/App.js</code> and save to reload.
          </p>
          <a
            className='App-link'
            href='https://reactjs.org'
            target='_blank'
            rel='noopener noreferrer'
          >
            Learn React
          </a>
        </header>
      </div>
    </MoralisProvider>
  );
}

export default App;
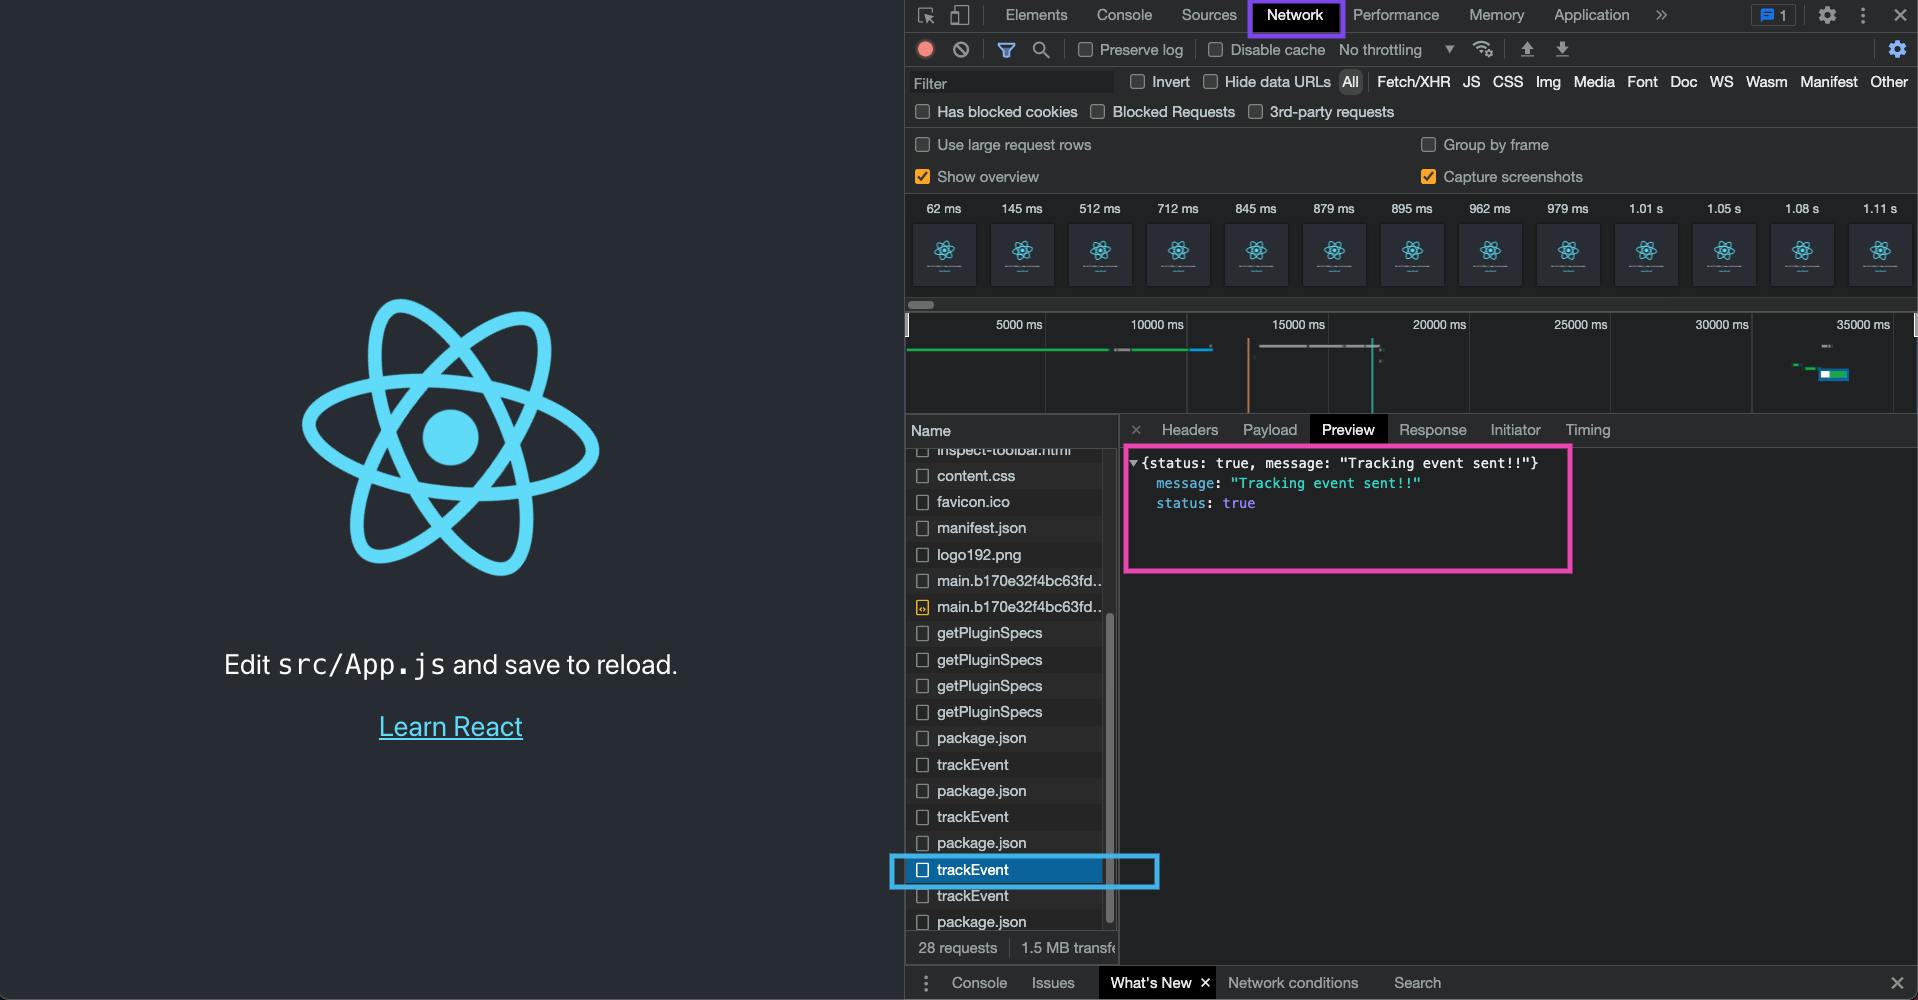
Go to the Network tab of your browser and search for the trackEvent request (refresh the page if you can't find it at first). If the response status is set to true this means that our React application has established a connection with our Moralis Mainnet server.
Pro Tip: Don’t hardcode your Moralis information into the
MoralisProvidercomponent.
Step 6 – Creating a Moralis connection with the Wallet component
In this step, we will create the connection component of our IPFS downloader. Moralis does not support uploading public files to IPFS, which means a user wallet must be connected before we can successfully upload a file to the IPFS network with the Moralis SDK.
Of your src case:
- Create a new
componentcase. - Then create a new
authfolder in thecomponentcase. - Then create a new
Login.jsxfile inside theauthfolder with the following lines of code:
import React from "react";
import { FileUploader } from "./../file-uploader/FileUploader";


import Moralis from "moralis";

export const Login = () => {
  const (isAuthenticated, setIsAuthenticated) = React.useState(false);
  const (isAuthenticating, setIsAuthenticating) = React.useState(false);


  const connectWallet = async () => {

    setIsAuthenticating(true);


    Moralis.authenticate()
      .then((user) => {

        console.log(user);
        setIsAuthenticated(true);
        setIsAuthenticating(false);
      })
      .catch((error) => {

        alert("Error authenticating: " + error);
        setIsAuthenticated(false);
        setIsAuthenticating(false);
      });
  };


  if (isAuthenticated) {
    return <FileUploader />;
  }

  return (
    <React.Fragment>
      <button onClick={connectWallet}>
        {isAuthenticating ? "Connecting Your Wallet..." : "Connect Your Wallet"}
      </button>
    </React.Fragment>
  );
};
From the code above, we generate a “connect” button allowing the user to connect their wallet via MetaMask. When the user's wallet is connected, the authentication state is set to true so that we can make the FileUploader component, which we will create in the next step.
Update your App.jsx file with the code below to make our Login component:
import "./App.css";
import { MoralisProvider } from "react-moralis";
import { Login } from "./component/auth/Login";

function App() {
  const serverUrl = process.env.REACT_APP_MORALIS_SERVER_URL;
  const appId = process.env.REACT_APP_MORALIS_APP_ID;

  return (
    <MoralisProvider appId={appId} serverUrl={serverUrl}>
      <Login />
    </MoralisProvider>
  );
}

export default App;
Step 7 – Creating the Moralis IPFS Upload Component
In this step, we will create our IPFS file upload component named FileUploader — a form component that includes a file input and a button allowing the user to upload a file to the IPFS network.
Of your component case:
- Create a new
file-uploadercase. - In the
file-uploaderfolder, create a newFileUploader.jsxAndfile-uploader.cssfiles. - Next, copy and paste the CSS code below into our
file-uploader.cssdeposit:
* {
  margin: 0;
  padding: 0;
  box-sizing: border-box;
}

body {
  background-color: #1d1d1d;
  color: #fff;
  display: flex;
  flex-direction: column;
  align-items: center;
  justify-content: center;
  min-height: 100vh;
}

.form-wrapper {
  width: 100%;
  height: 100%;
  border: 1px solid #ccc;
  border-radius: 4px;
  box-shadow: 0 0 5px #ccc;
  padding: 10px;
}

.form-wrapper h2 {
  font-size: 1.5rem;
  margin-bottom: 1rem;
  text-align: center;
}

.form {
  width: 100%;
  height: 100%;
  display: flex;
  flex-direction: column;
  justify-content: center;
  align-items: center;
}

input(type="file") {
  width: 100%;
  height: 100%;
  border-bottom: 1px solid #ccc;
  padding: 10px;
  font-size: 16px;
  outline: none;
}

button {
  width: 100%;
  height: 100%;
  border: none;
  border-bottom: 1px solid #ccc;
  padding: 10px;
  font-size: 16px;
  outline: none;
  background: #00bcd4;
  color: #fff;
  cursor: pointer;
}
Then we will update our FileUploader.jsx component with the following code:
import React from "react";
import "./file-uploader.css";
import { Success } from "./../success/Success";


import Moralis from "moralis";

export const FileUploader = () => {

  const (file, setFile) = React.useState(null);
  const (hash, setHash) = React.useState(null);
  const (loading, setLoading) = React.useState(false);


  const uploadFileToIpfs = async (e) => {
    e.preventDefault();


    if (!file) {
      alert("Please select a file to upload");
      return;
    }


    setLoading(true);

    try {

      const moralisFileInstance = new Moralis.File(file.name, file);


      await moralisFileInstance.saveIPFS({ useMasterKey: true });


      console.log(moralisFileInstance.ipfs(), moralisFileInstance.hash());


      setHash(moralisFileInstance.hash());
    } catch (error) {

      alert("Error uploading file to IPFS: " + error);
    } finally {

      setLoading(false);
    }
  };


  if (hash) {
    return <Success hash={hash} setHash={setHash} />;
  }

  return (
    <div className='form-wrapper'>
      <h2>Moralis IPFS Uploader</h2>
      <form>
        <input
          type='file'
          onChange={(e) => {
            setFile(e.target.files(0));
          }}
        />
        <button onClick={uploadFileToIpfs}>
          {loading ? "Uploading..." : "Upload"}
        </button>
      </form>
    </div>
  );
};
From the code above, when an authenticated user has successfully uploaded a file to the IPFS network, we can then retrieve the hash of the file moralisFileInstance.hash() method.
We will spend the hash And setHash as an accessory for <Success /> component that we will create in the next step.
Step 8 – Creating the Moralis IPFS Success Component
In this last step, we will create the <Success /> component that will be rendered once a file has been successfully created and the file hash is present.
In your component case:
- Create a new
successcase. - Then create a new
Success.jsxAndsuccess.cssfolder in thesuccesscase. - Next, copy and paste the CSS code below into our
success.cssdeposit:
.card {
  background-color: #fff;
  border-radius: 2px;
  box-shadow: 0 2px 5px 0 rgba(0, 0, 0, 0.16), 0 2px 10px 0 rgba(0, 0, 0, 0.12);
  margin-bottom: 20px;
  padding: 20px;
}

.card-body {
  padding: 0;
  color: #00bcd4;
}

.card-title {
  font-size: 1.5rem;
  margin-bottom: 1rem;
  text-align: center;
}

.card-text{
    font-size: 1.2rem;
    margin-bottom: 1rem;
    text-align: center;
}


.card-text-h3{
    font-size: 1.2rem;
    margin-bottom: 1rem;
    text-align: center;
}

.card-text-span{
    font-size: 0.8rem;
    margin-bottom: 1rem;
    text-align: center;
    font-weight: 500;

}

.img-wrapper {
  height: 255px;
}

img {
  width: 100%;
  height: 100%;
}

.card-footer {
  display: flex;
  justify-content: space-between;
  align-items: center;
  justify-content: center;
}

.card-footer button {
  width: 50%;
  height: 100%;
  padding: 10px;
  font-size: 16px;
  color: #00bcd4;
  background: #fff;
  border: 1px solid #ccc;
  border-right: none;

}

.card-footer a {
    width: 50%;
    height: 100%;
    border: 1px solid #ccc;
    border-left: none;
    padding: 10px;
    font-size: 16px;
    outline: none;
    text-align: center;
    background: #00bcd4;
    color: #ffffff;
    text-decoration: none;
}
Then we will update our Success.jsx component with the following code:
import React from "react";
import "./success.css";
export const Success = ({ hash, setHash }) => {
  return (
    <div>
      <div className='card'>
        <div className='card-body'>
          <h5 className='card-title'>Success! 👍 </h5>
          <p className='card-text'>Your file has been uploaded to IPFS.</p>
          <h3 className='card-text-h3'>
            File Hash: <br />
            <span className='card-text-span'>{hash}</span>
          </h3>
          <div className='img-wrapper'>
            <img
              src={`https://ipfs.moralis.io:2053/ipfs/${hash}`}
              alt='ipfs-img'
            />
          </div>
        </div>
        <div className='card-footer'>
          <button onClick={() => setHash(null)}>Back</button>
          <a
            href={`https://ipfs.moralis.io:2053/ipfs/${hash}`}
            target={"_blank"}
            rel='noopener noreferrer'
          >
            View on IPFS
          </a>
        </div>
      </div>
    </div>
  );
};
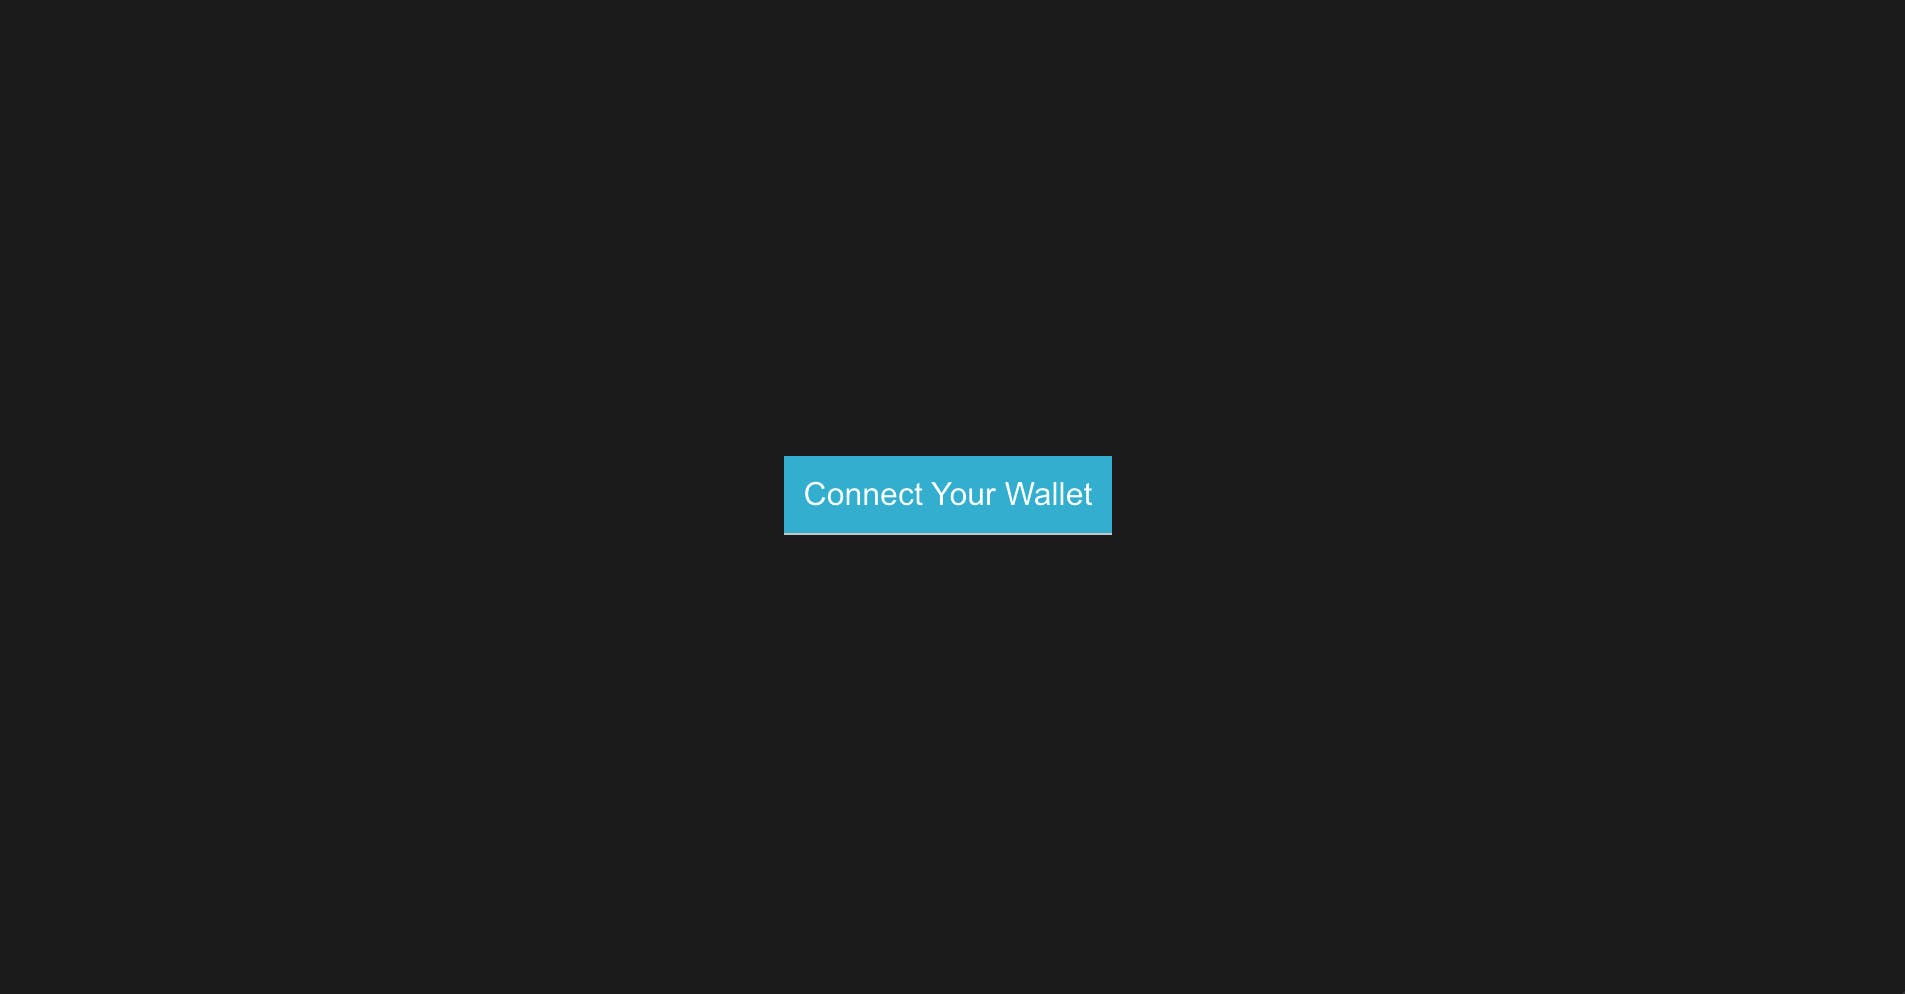
Our login page should look like this:
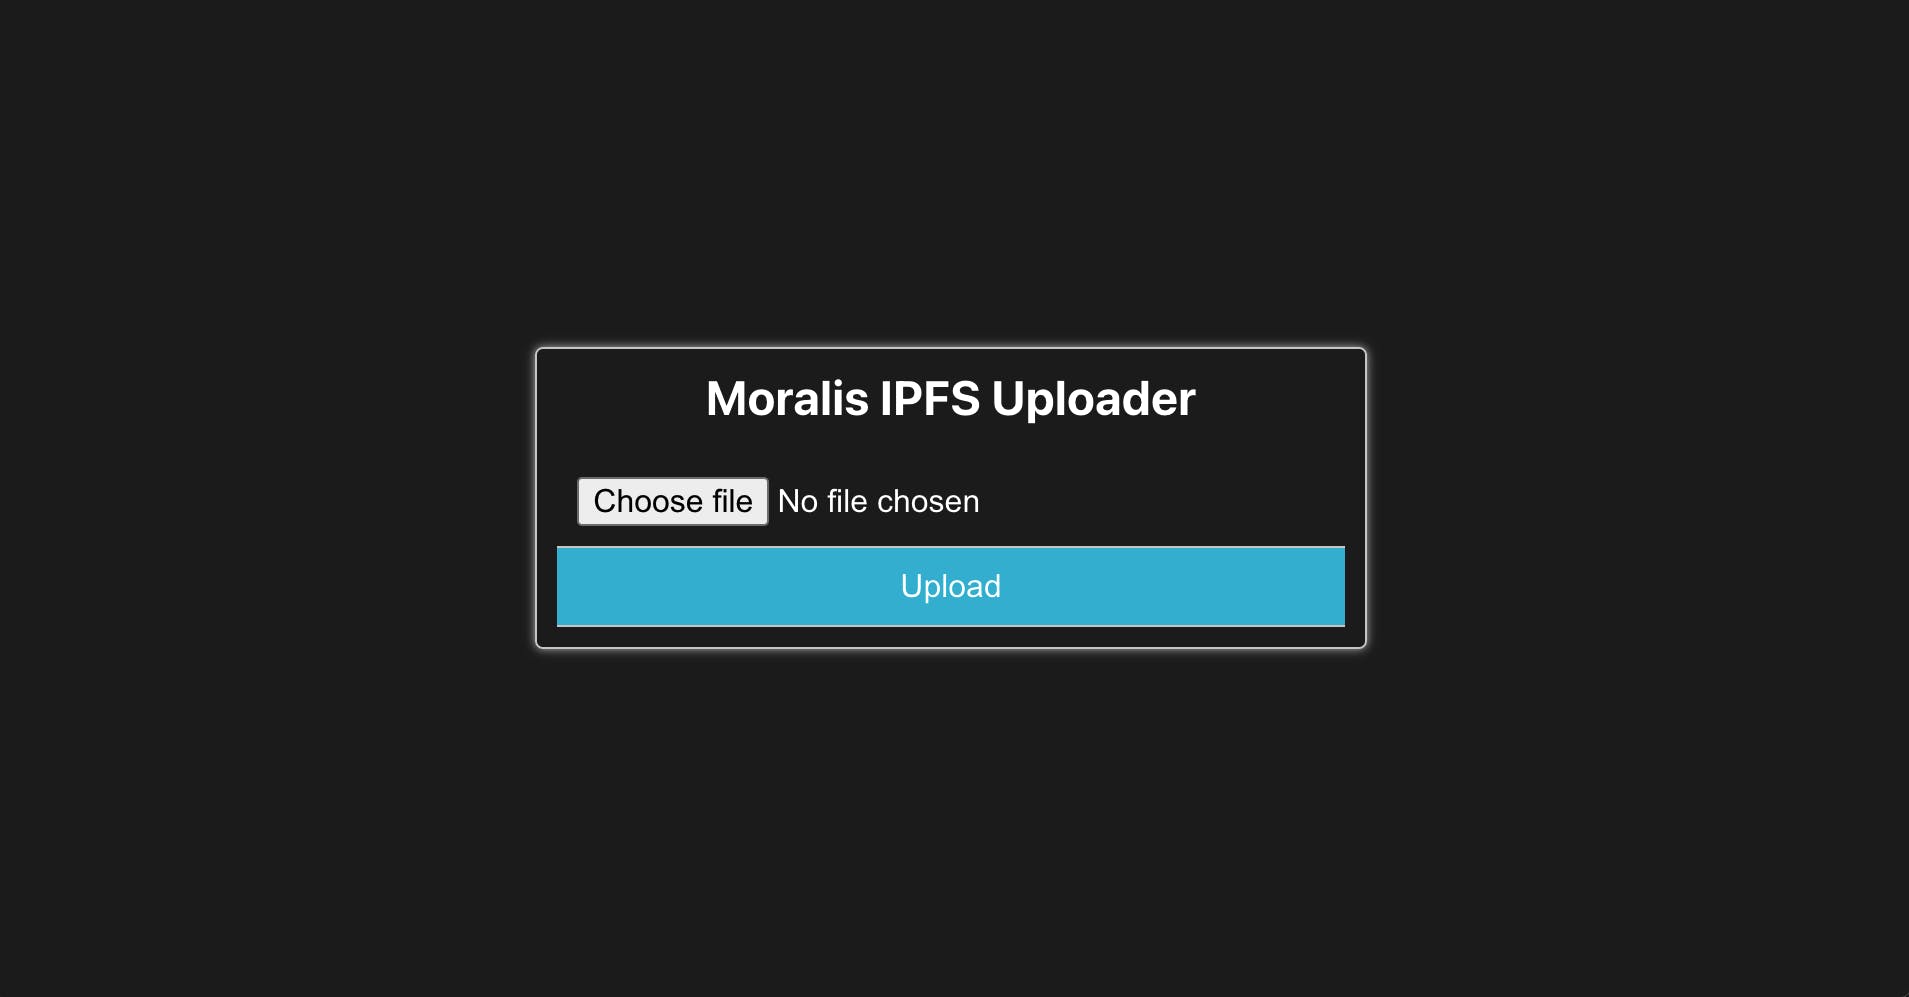
Our IPFS downloader should look like this:
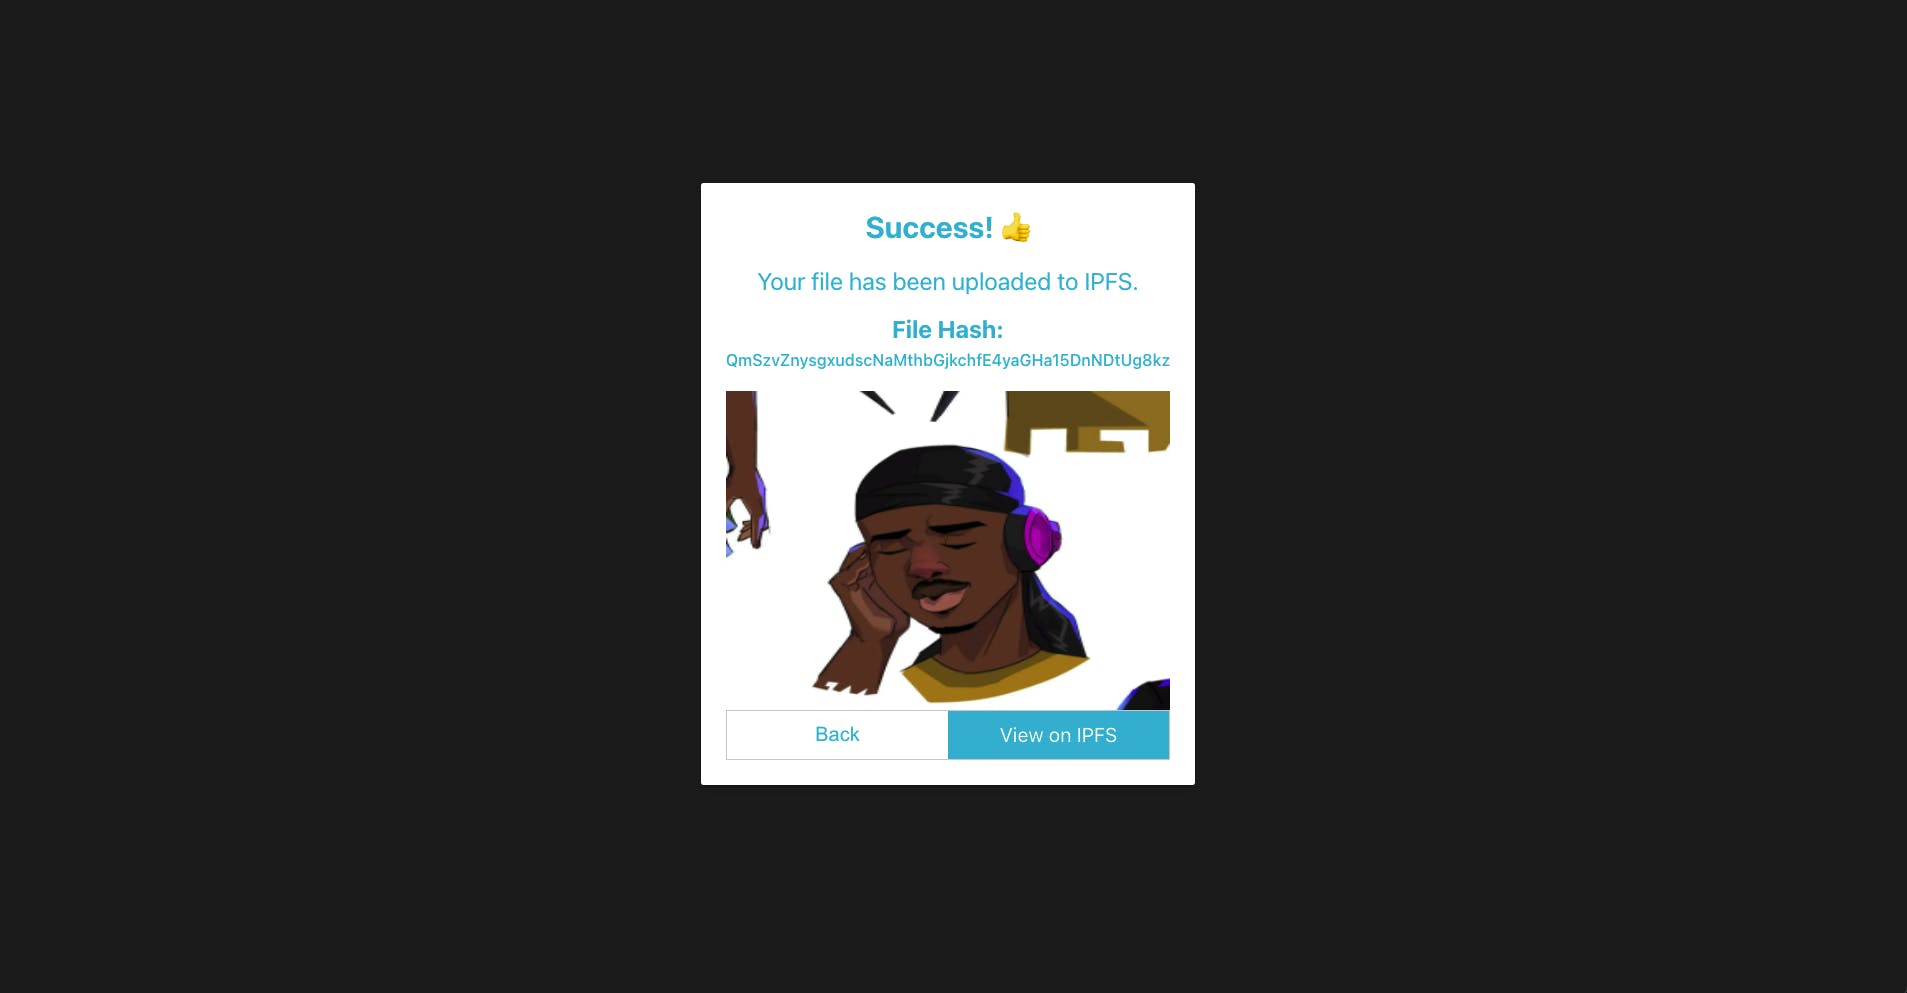
While our success page should look like this:
Wrap
InterPlanetary File System (IPFS) is a reliable, decentralized storage system. It is also widely considered the future of file storage.
In this article, we learned how to download and access IPFS network content using the Moralis SDK.
This article is part of the Hashnode Web3 Blog, where a team of selected editors offers new resources to help you discover the world of web3. Visit us to learn more about NFTs, DAOs, blockchains and the decentralized future.